
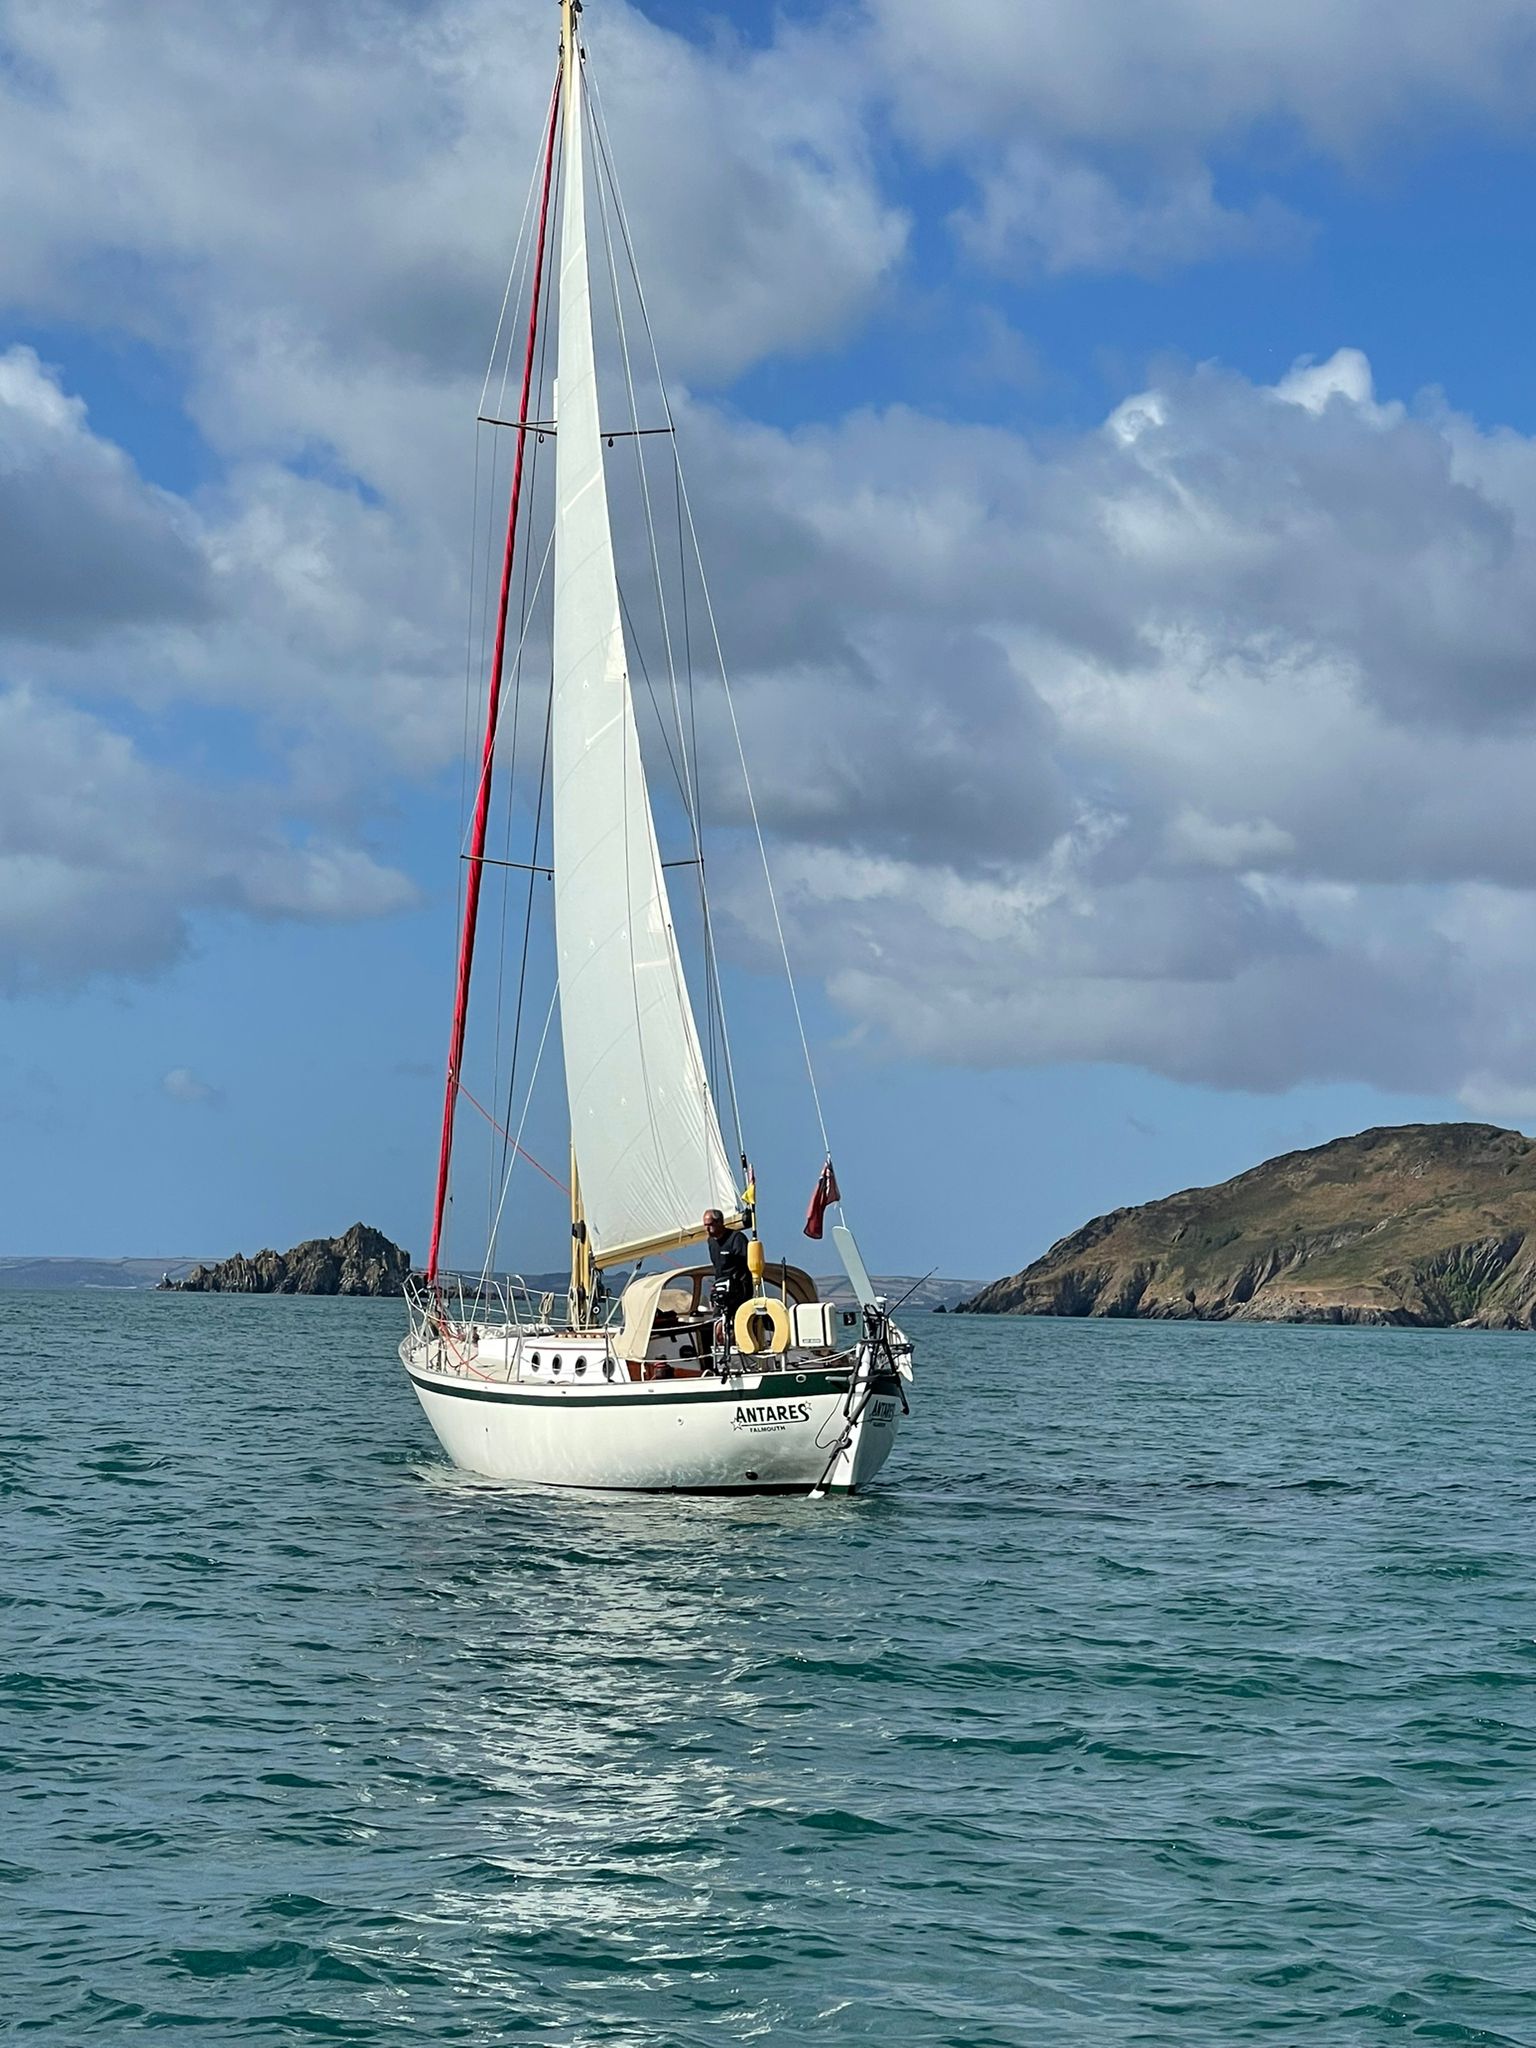
BUILDERS BLOG FOR CLASS GLOBE 5.80
MAID MADELEINE HULL #244
Winter 2024/25 received my plans, that was it no going back!
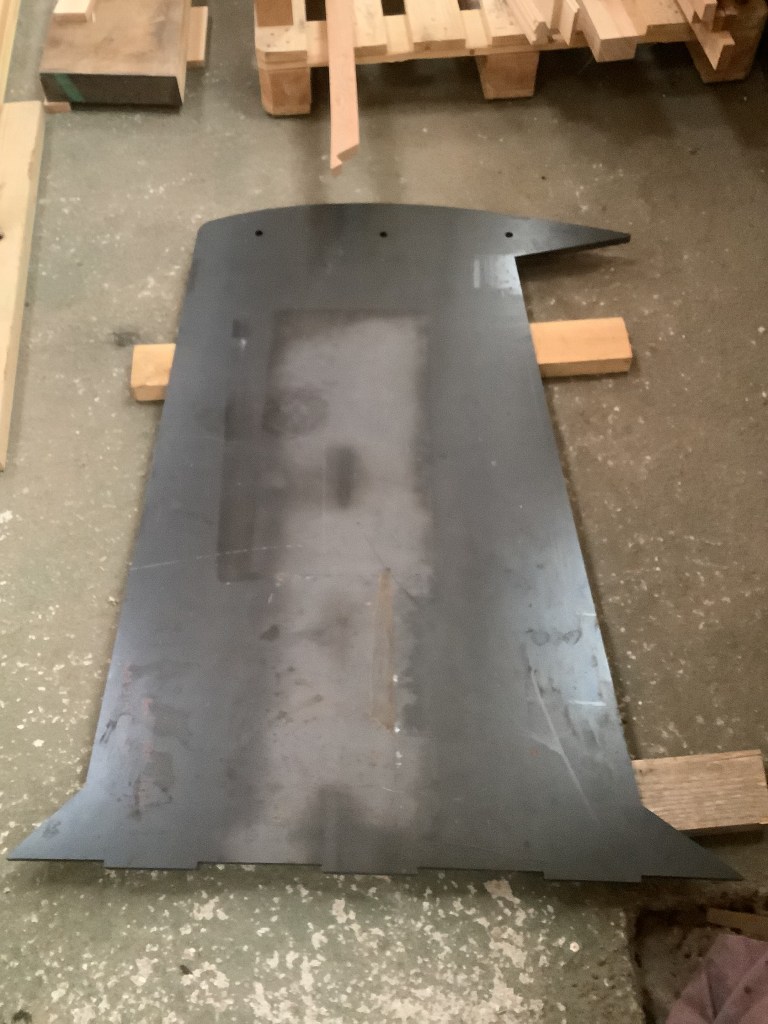
February 2025, starting with the bits I know about, metal, handed over the drawings of the keel to Steve at Element Fabrication who transferred them to a computer and sent them to the laser cutters.

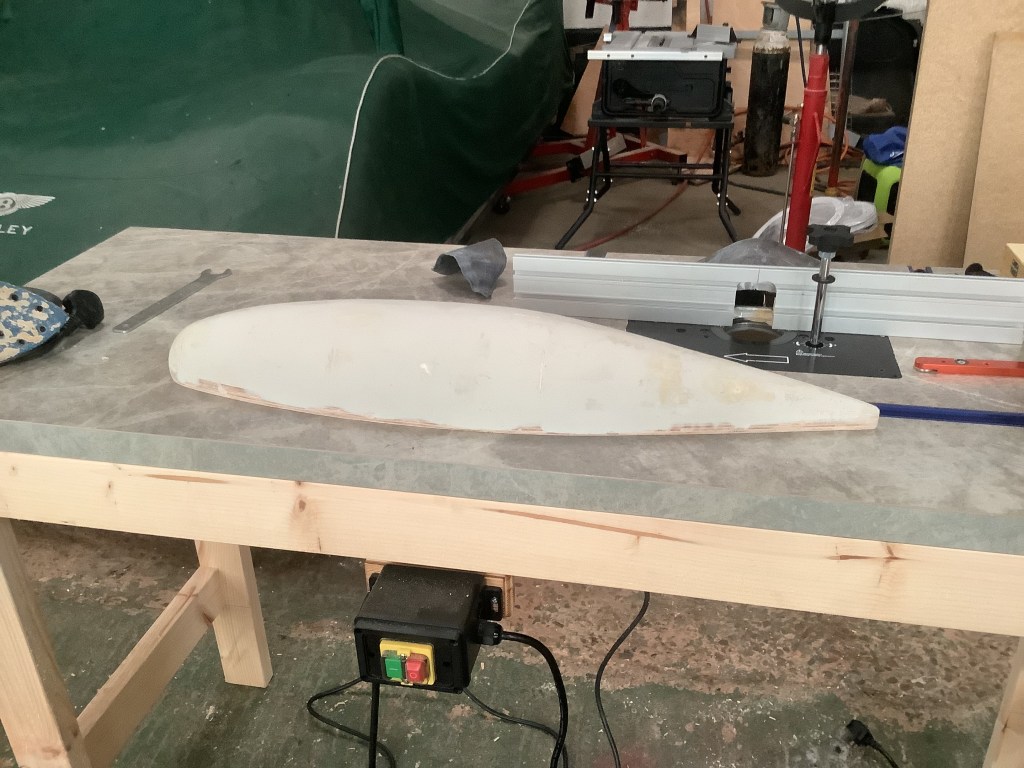
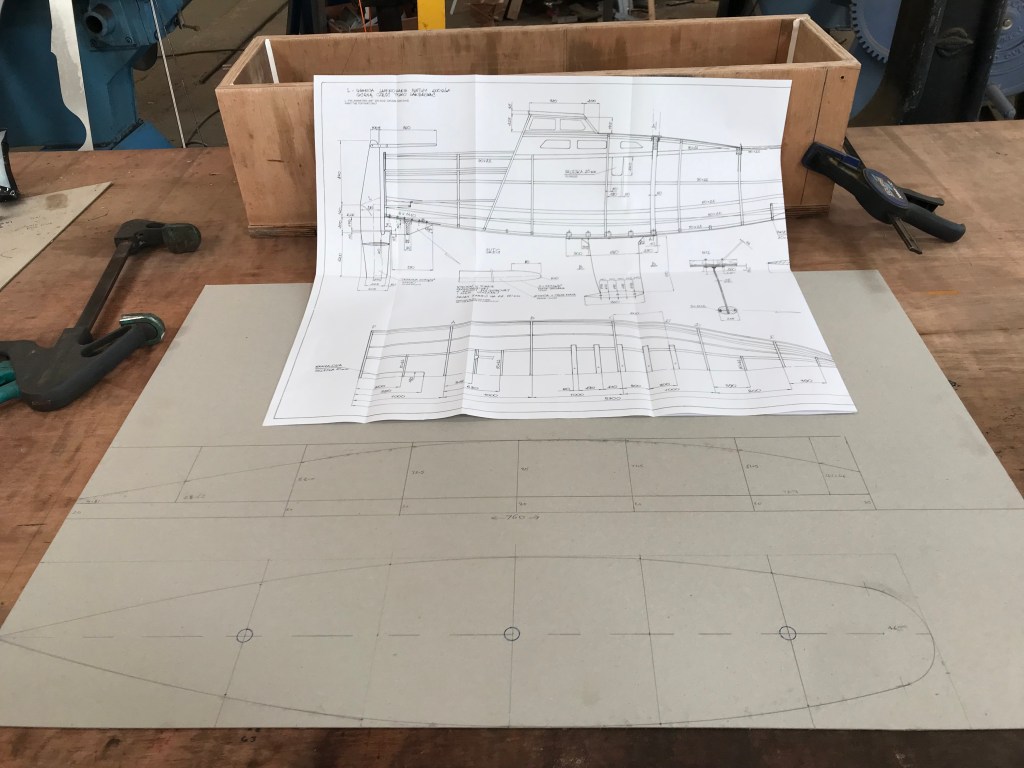
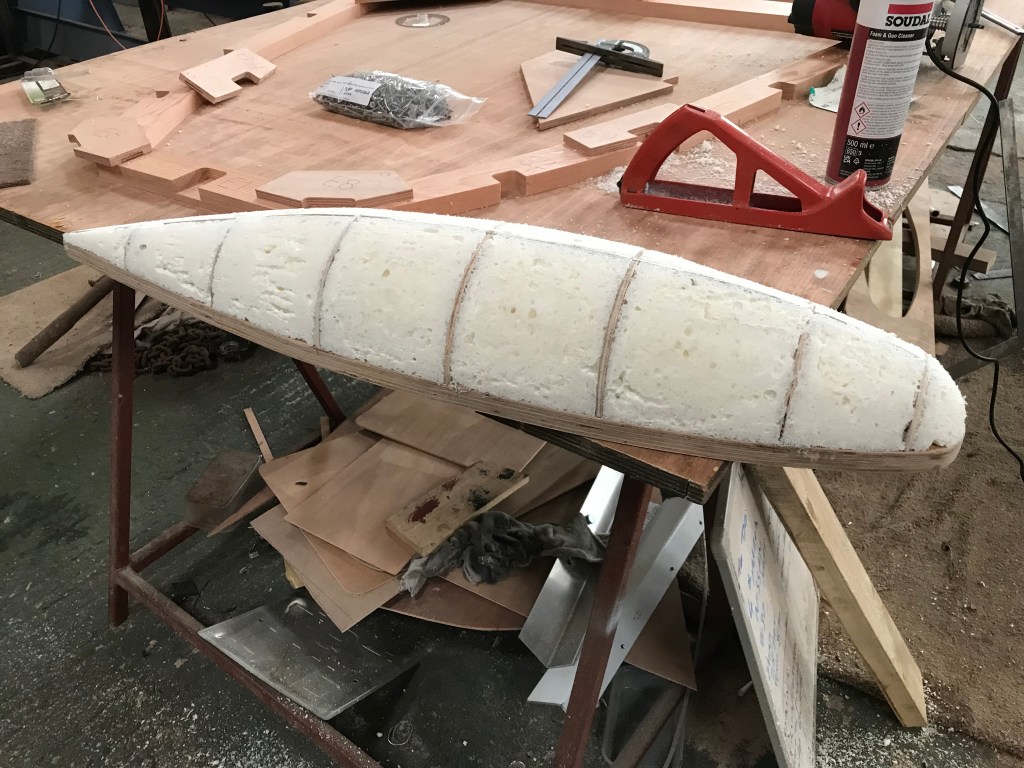
March 2025. I quickly ordered my plywood kit from Fyne Boat Kits, https://www.fyneboatkits.co.uk/ while waiting, I got on with making the buck for the lead bulbs on the keel, there’s a good CAD drawing on Dan Turks blog that I found very useful, thanks Dan. Filled the gaps between the stations with foam and a skim of body filler, sanded to shape, hopefully it will withstand the casting process. Built the ply box in one of the photos and intending to use plaster of Paris to form the mould when I’ve collected enough lead.

March 28/29th 2025
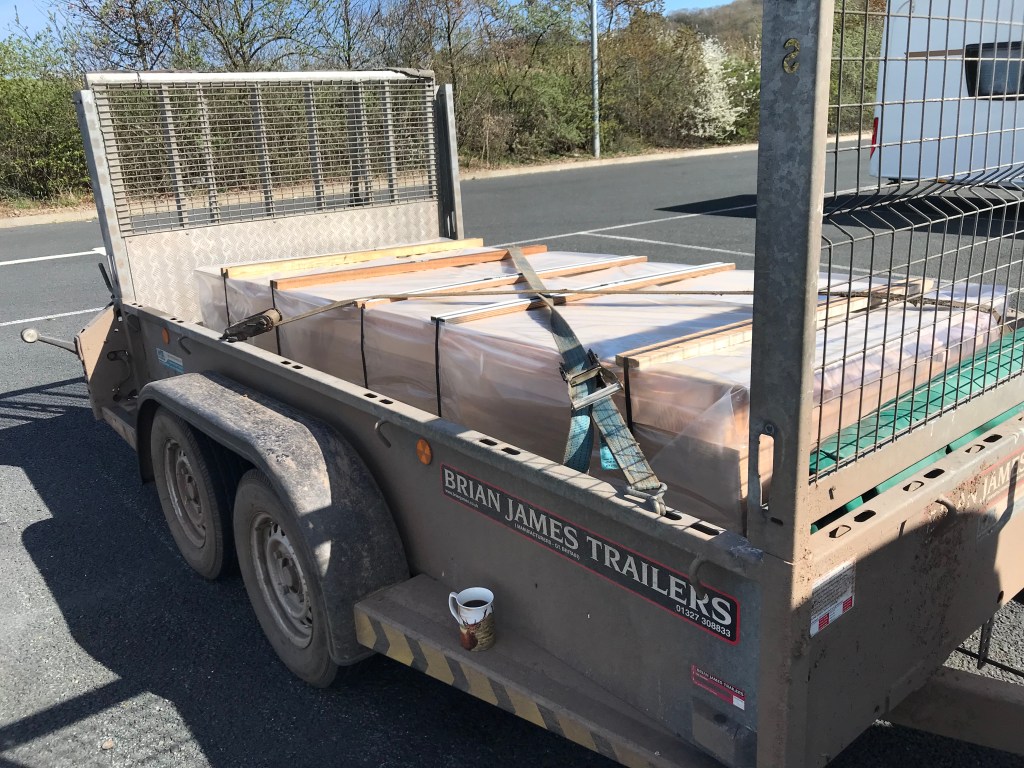
Phone call from Phil at fyne boat kits, how exciting! My 5.80 kit was ready, hitched up the trailer and drove up to the Lake District from Devon, slept in the van outside the gates, Phil was most accommodating as there closed on Saturdays normally, but he came in early and loaded up the 25 sheets of plywood and wood parts, all packaged and wrapped, quite a weight. Phil has also been very helpful in a later stage where I couldn’t find curtain part and we’re not listed on the cutting plan, he quickly got them cut and posted to me, as it turns out they were there on an odd sheet but not on the list, I believe the plans have now been adjusted, thank you Phil.

APRIL4th 2025
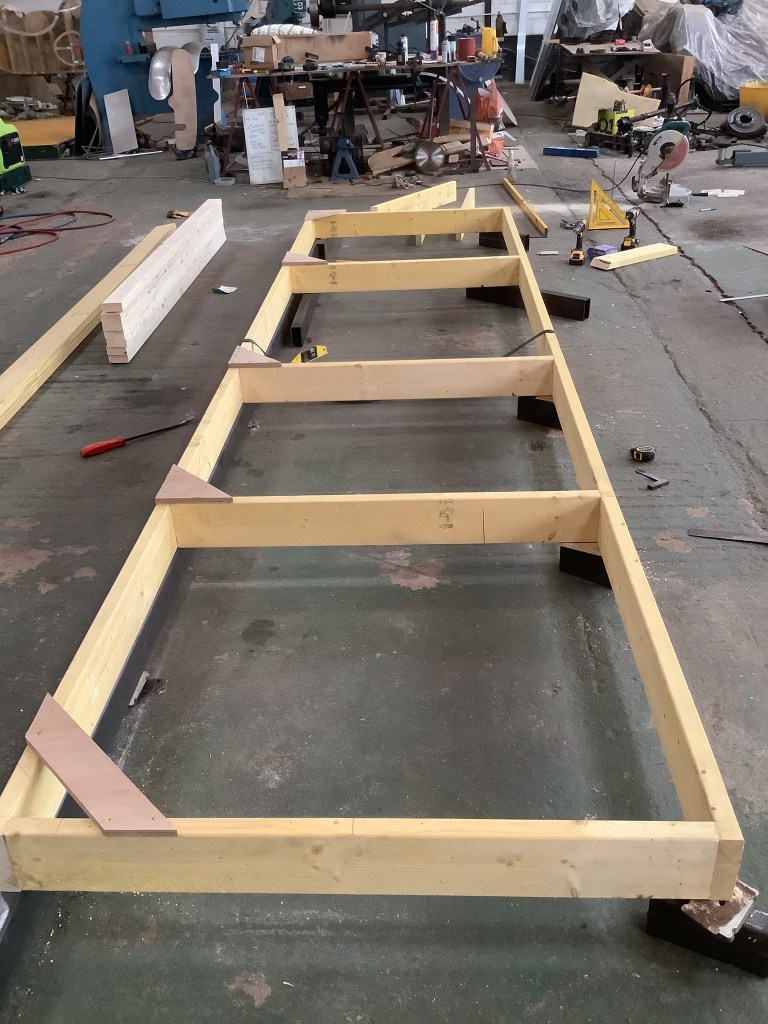
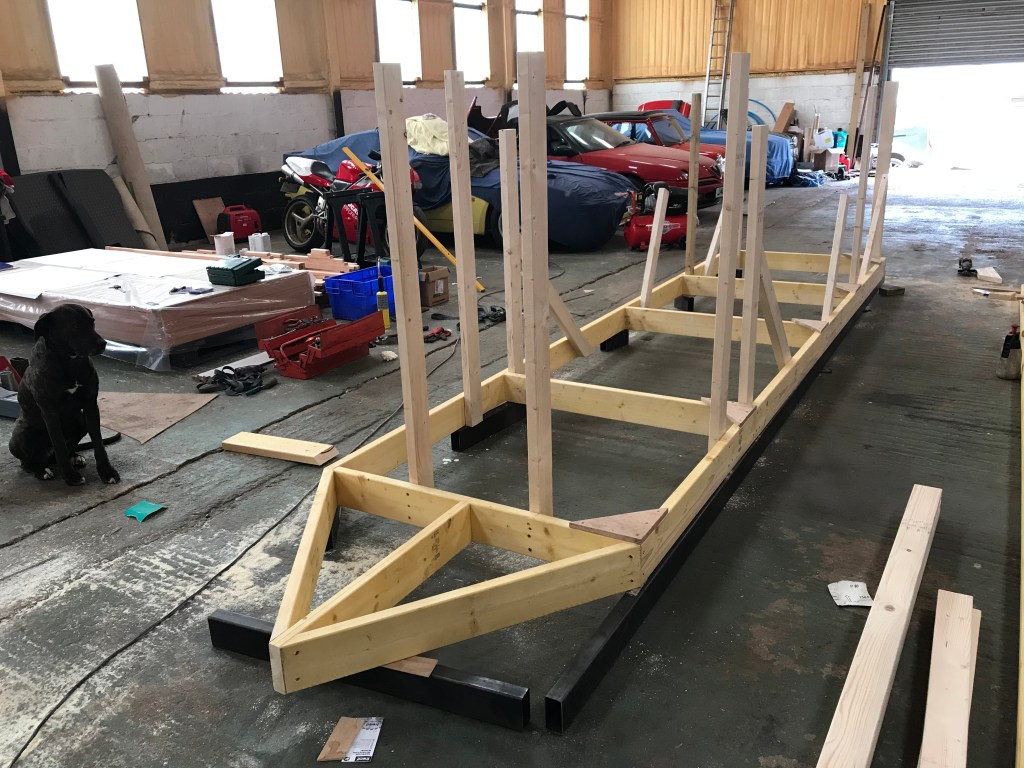
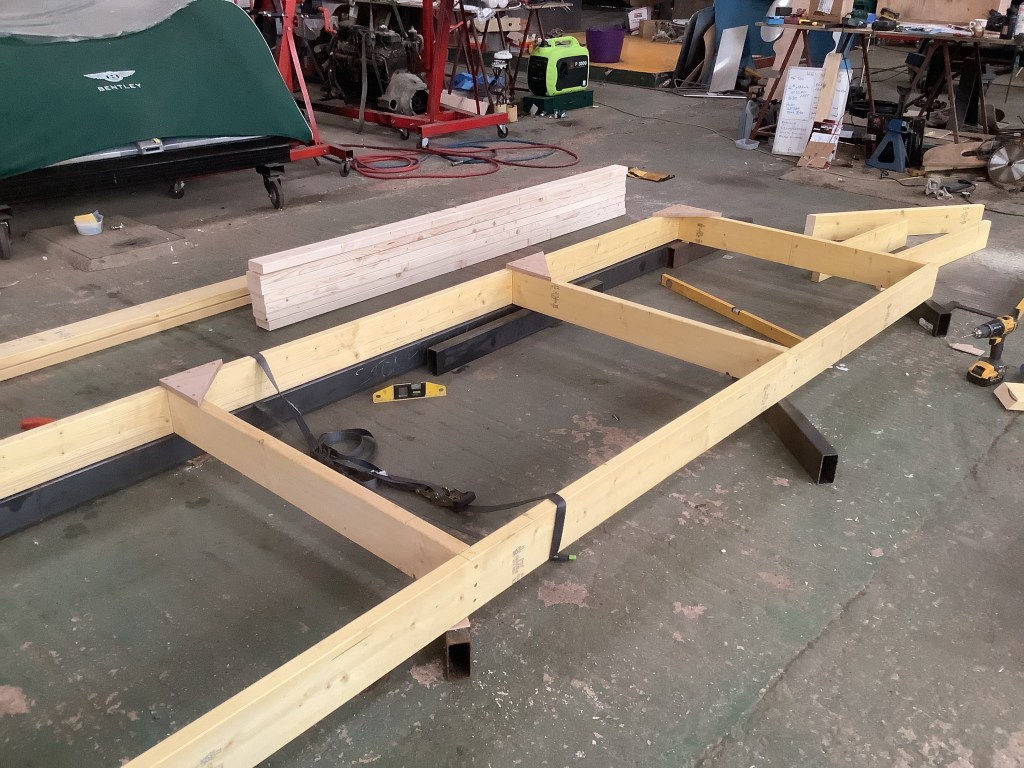
Started building the jig, using 4×2 and 6×2 timbers, shimmed the base to get it absolutely flat and level, a nice straight forward job. 10 hours with going to Jewsons to collect the timber.

APRIL 20th 2025.
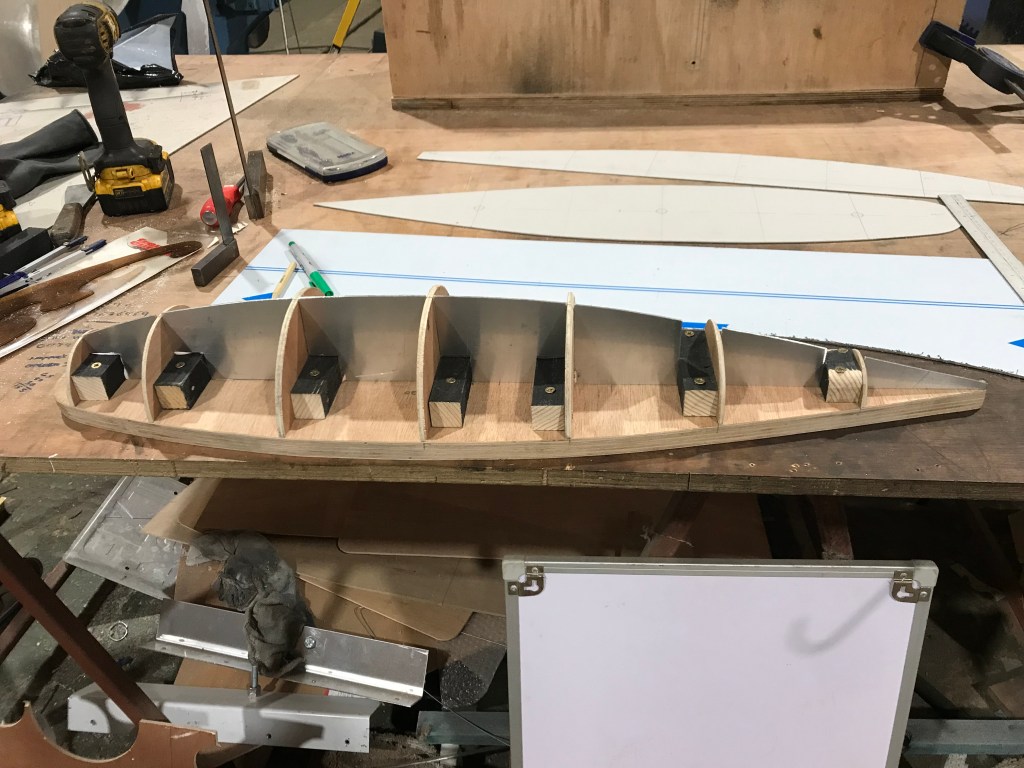
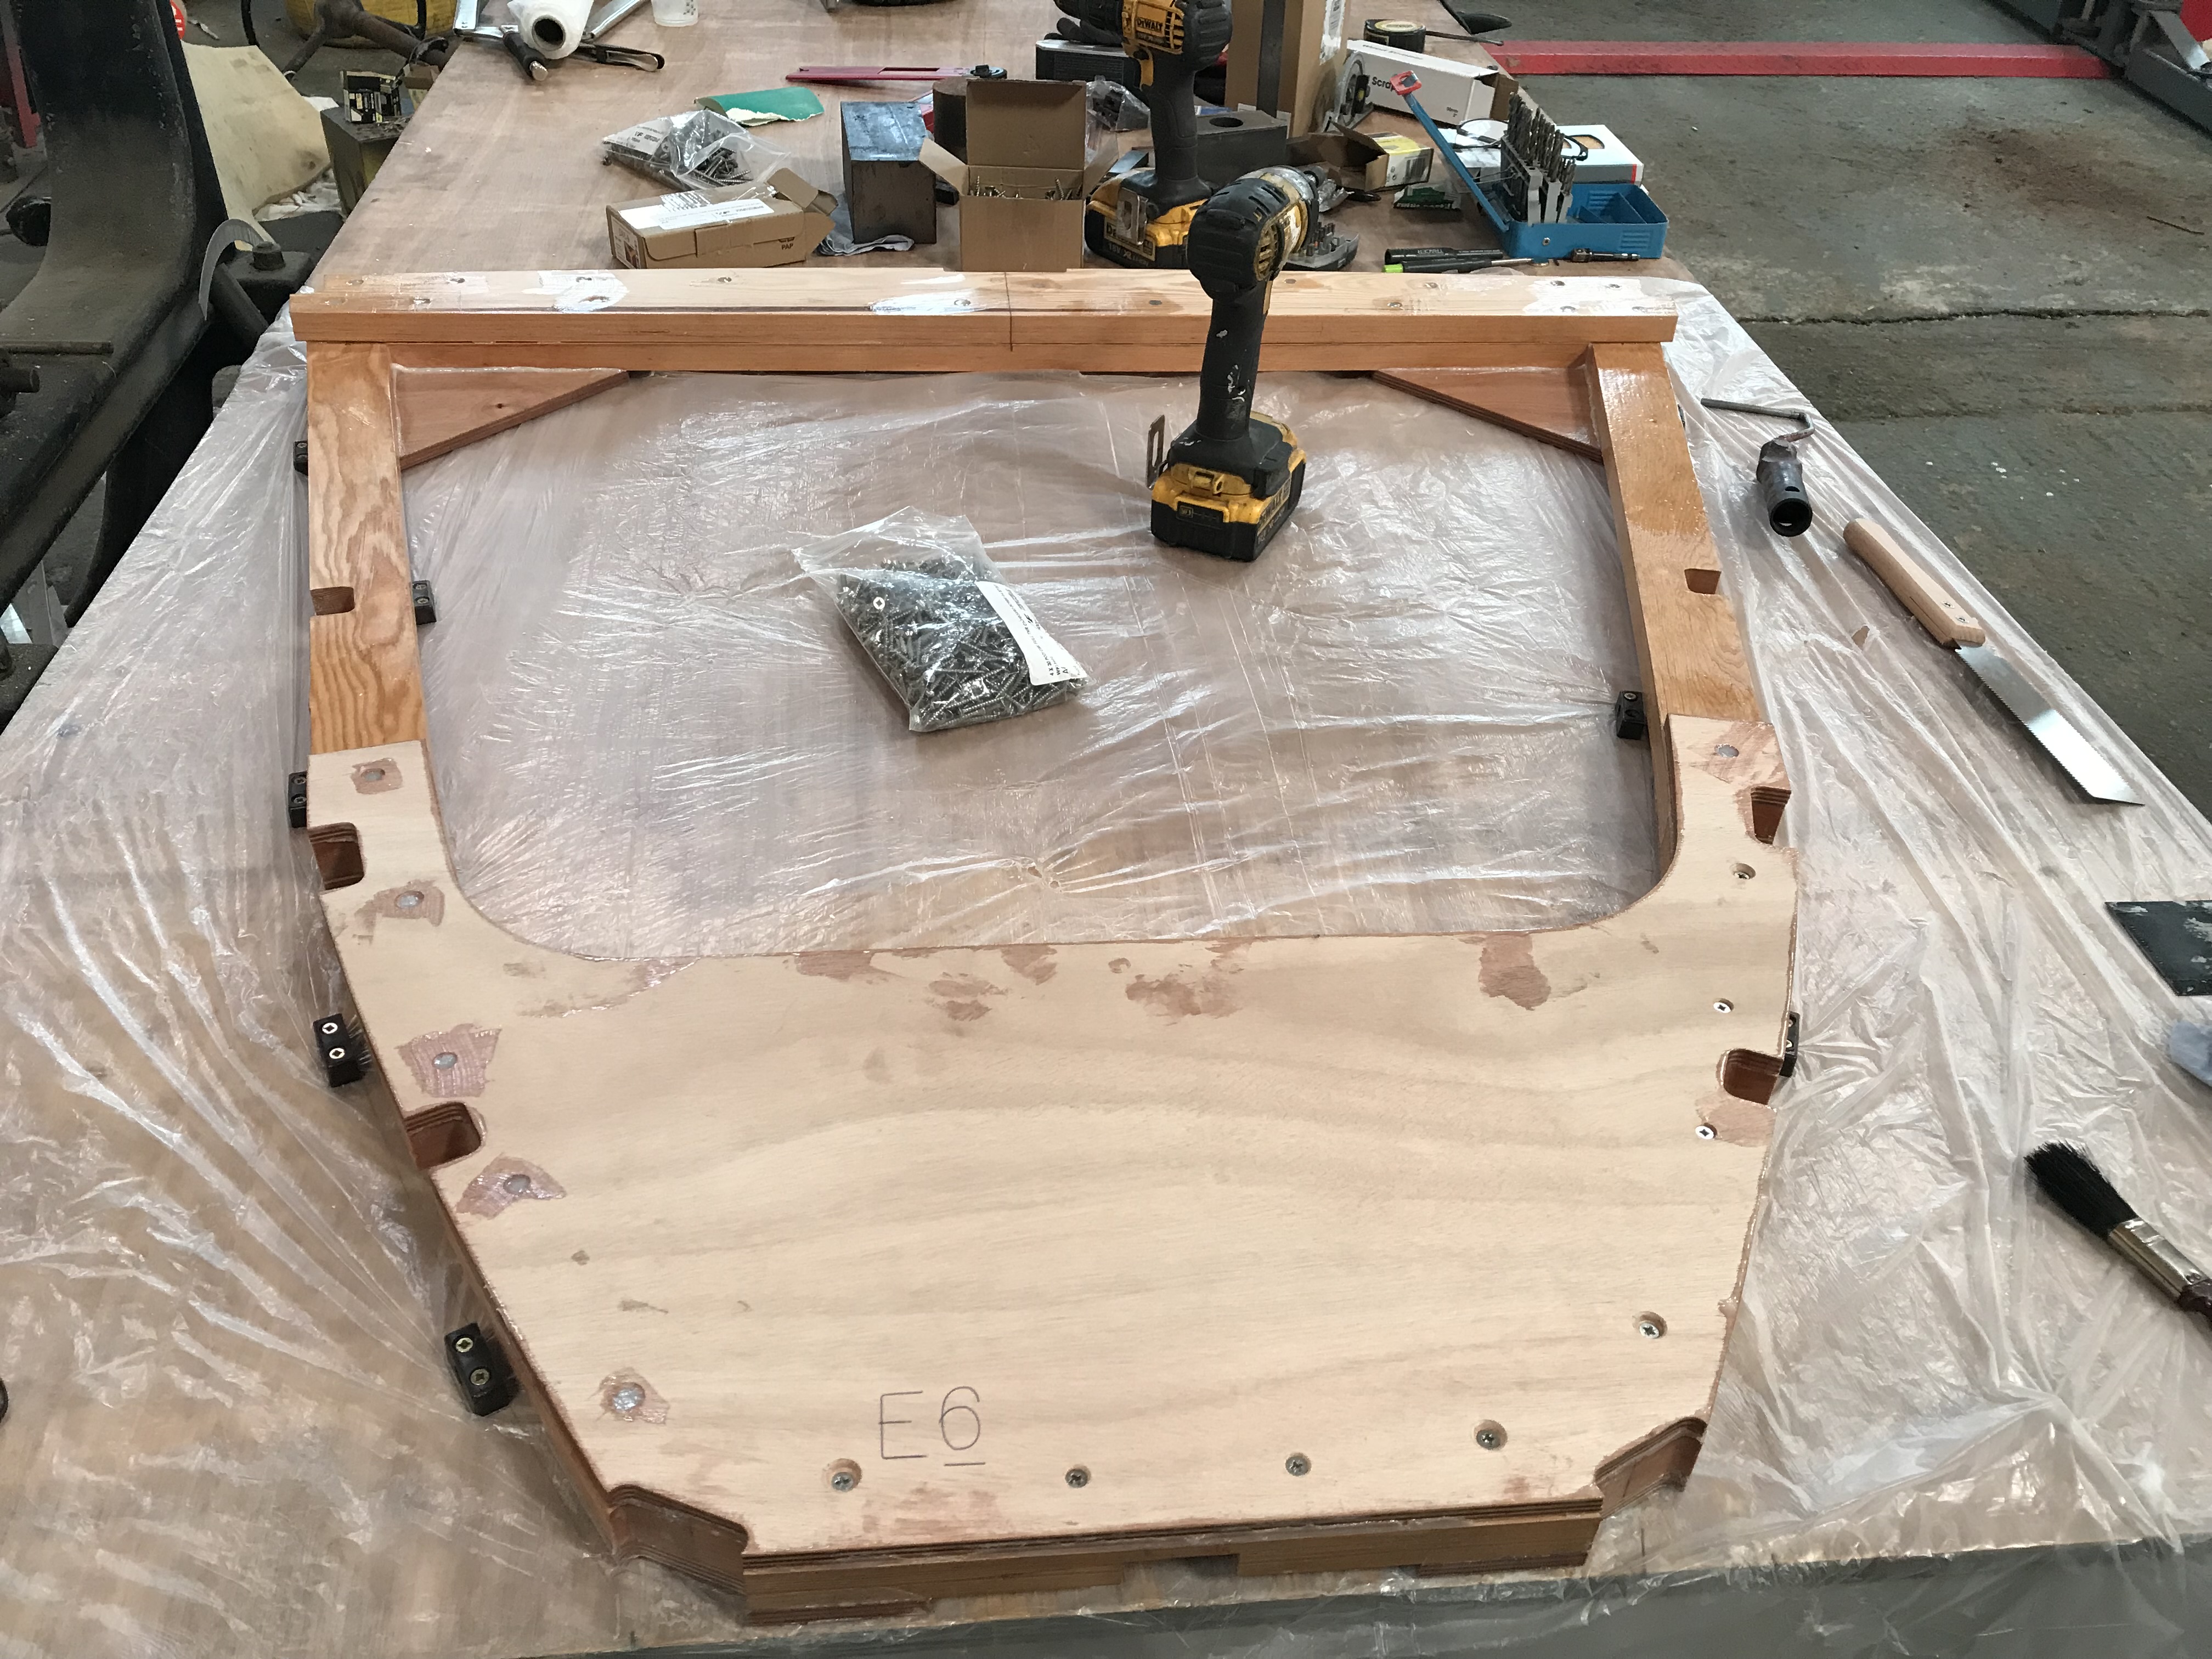
FIRST FRAME. As most other builders have done I started with FRAME E.
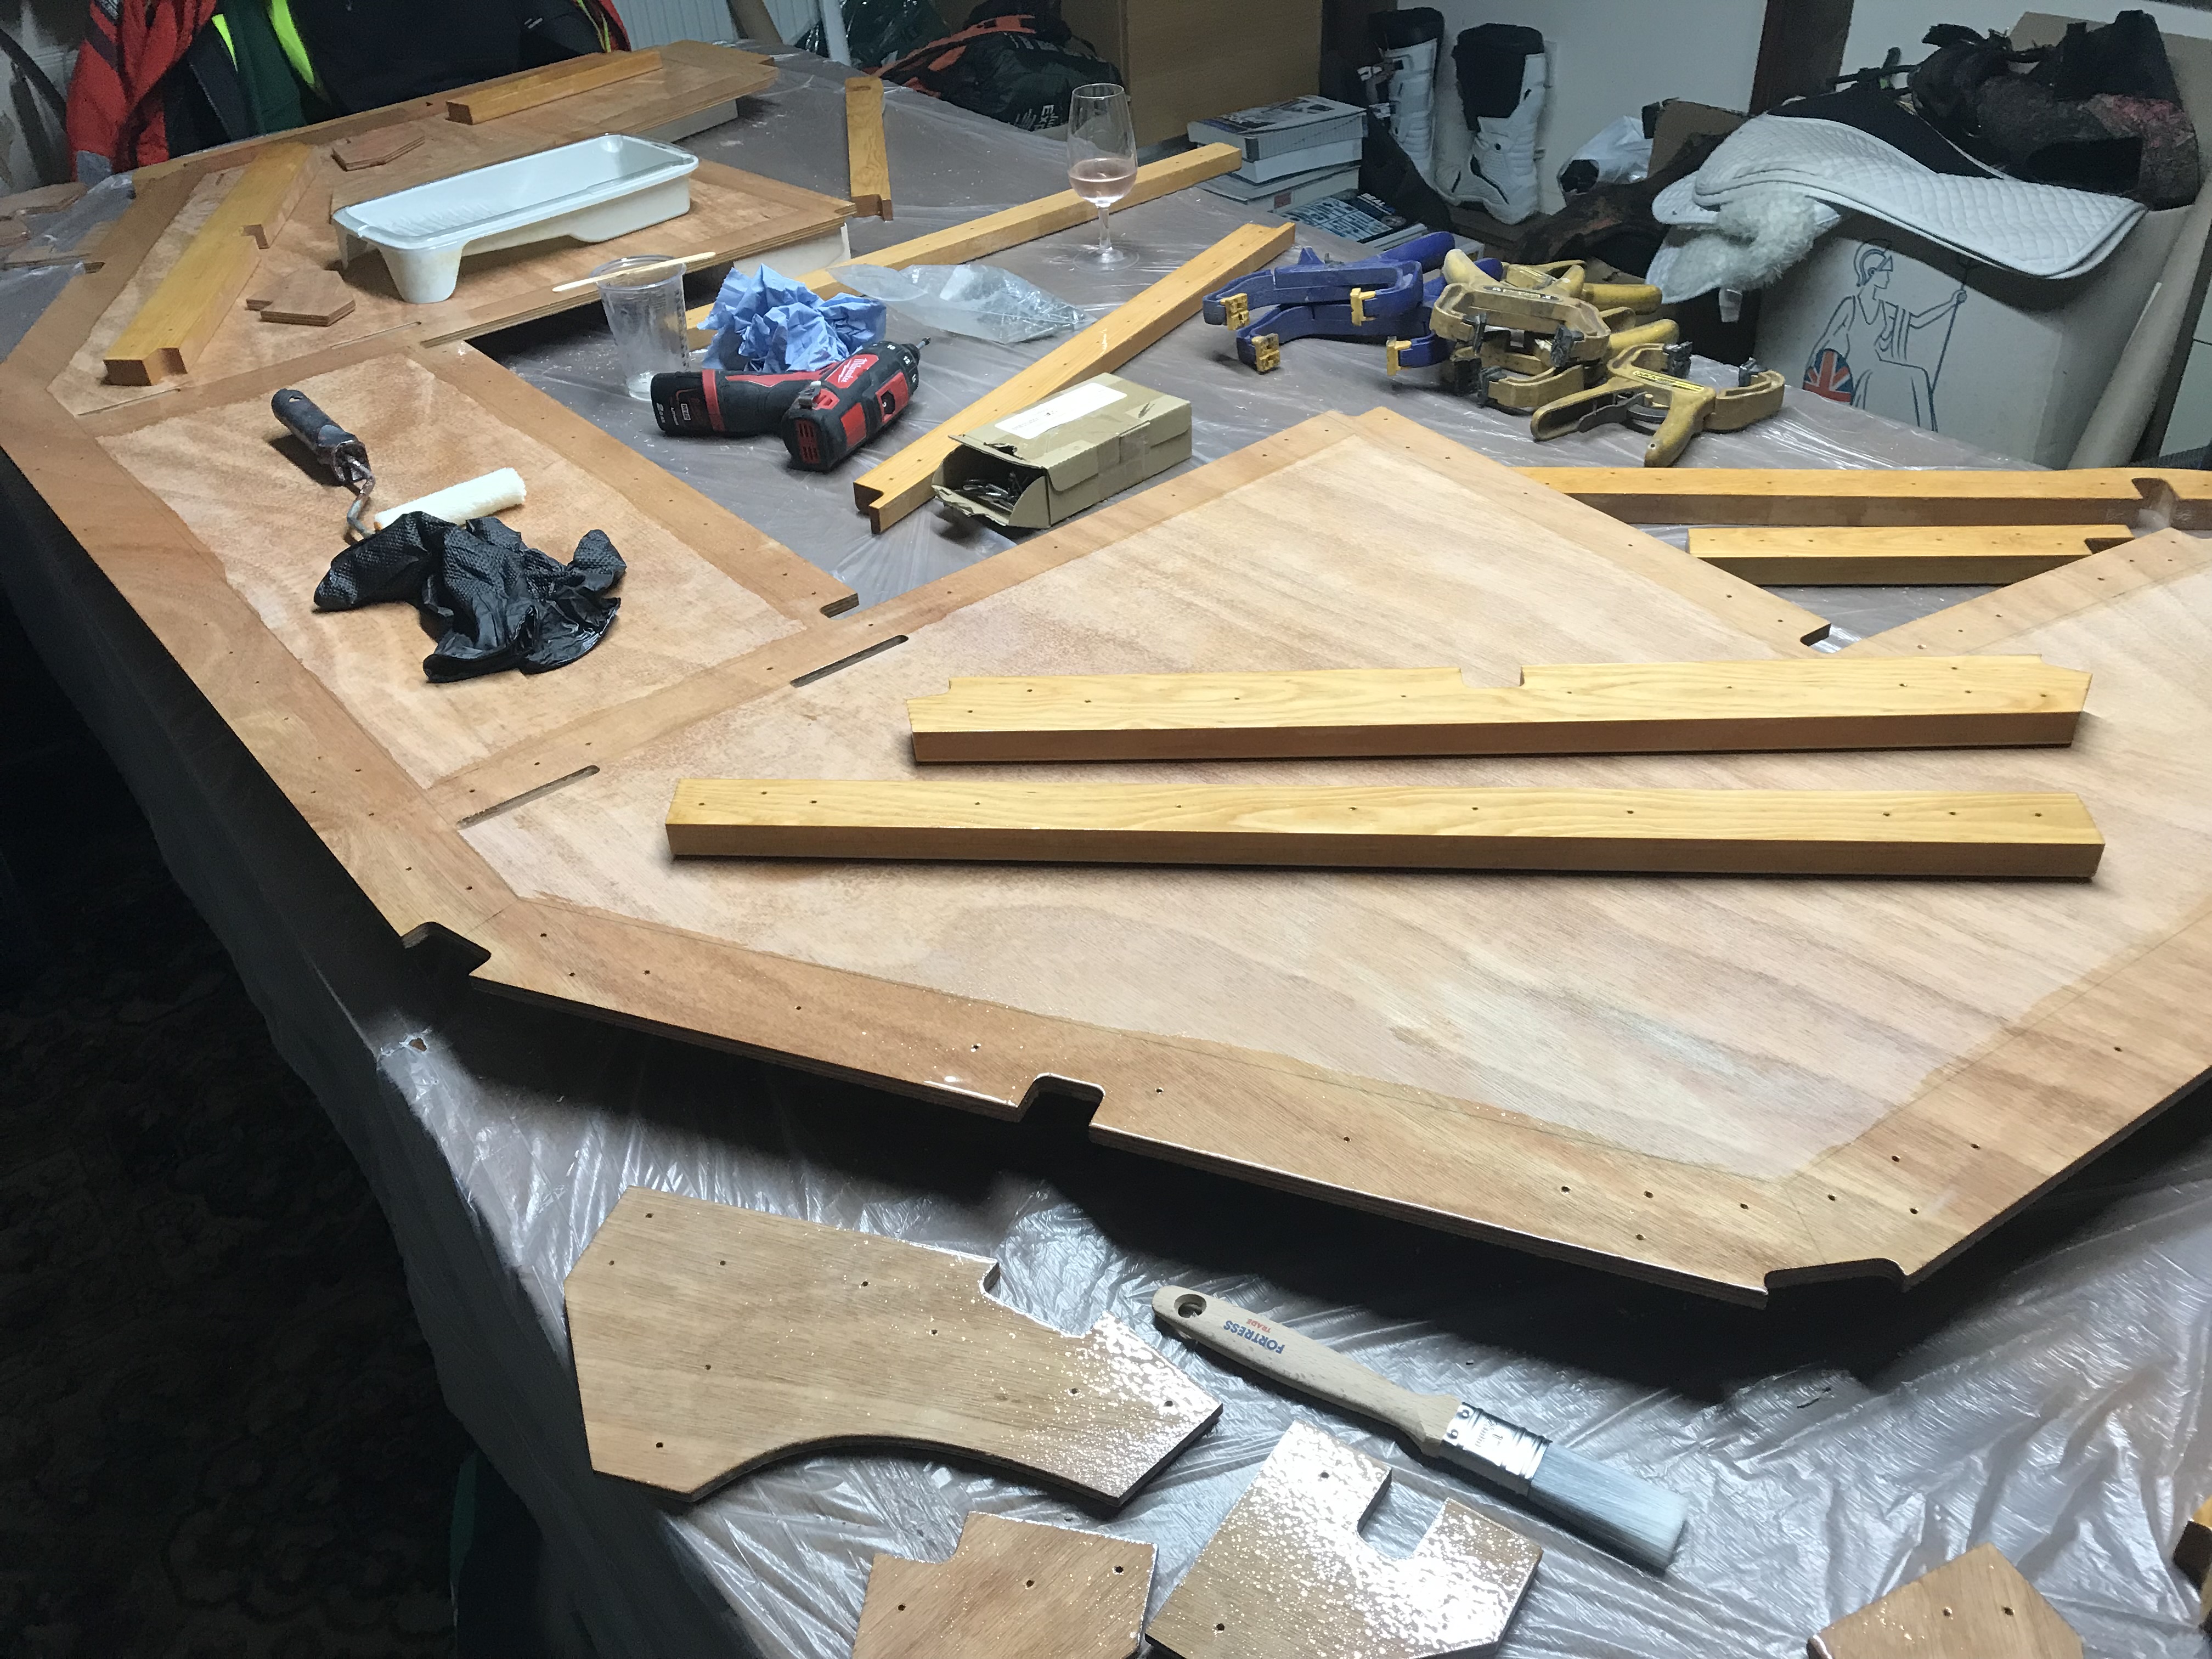
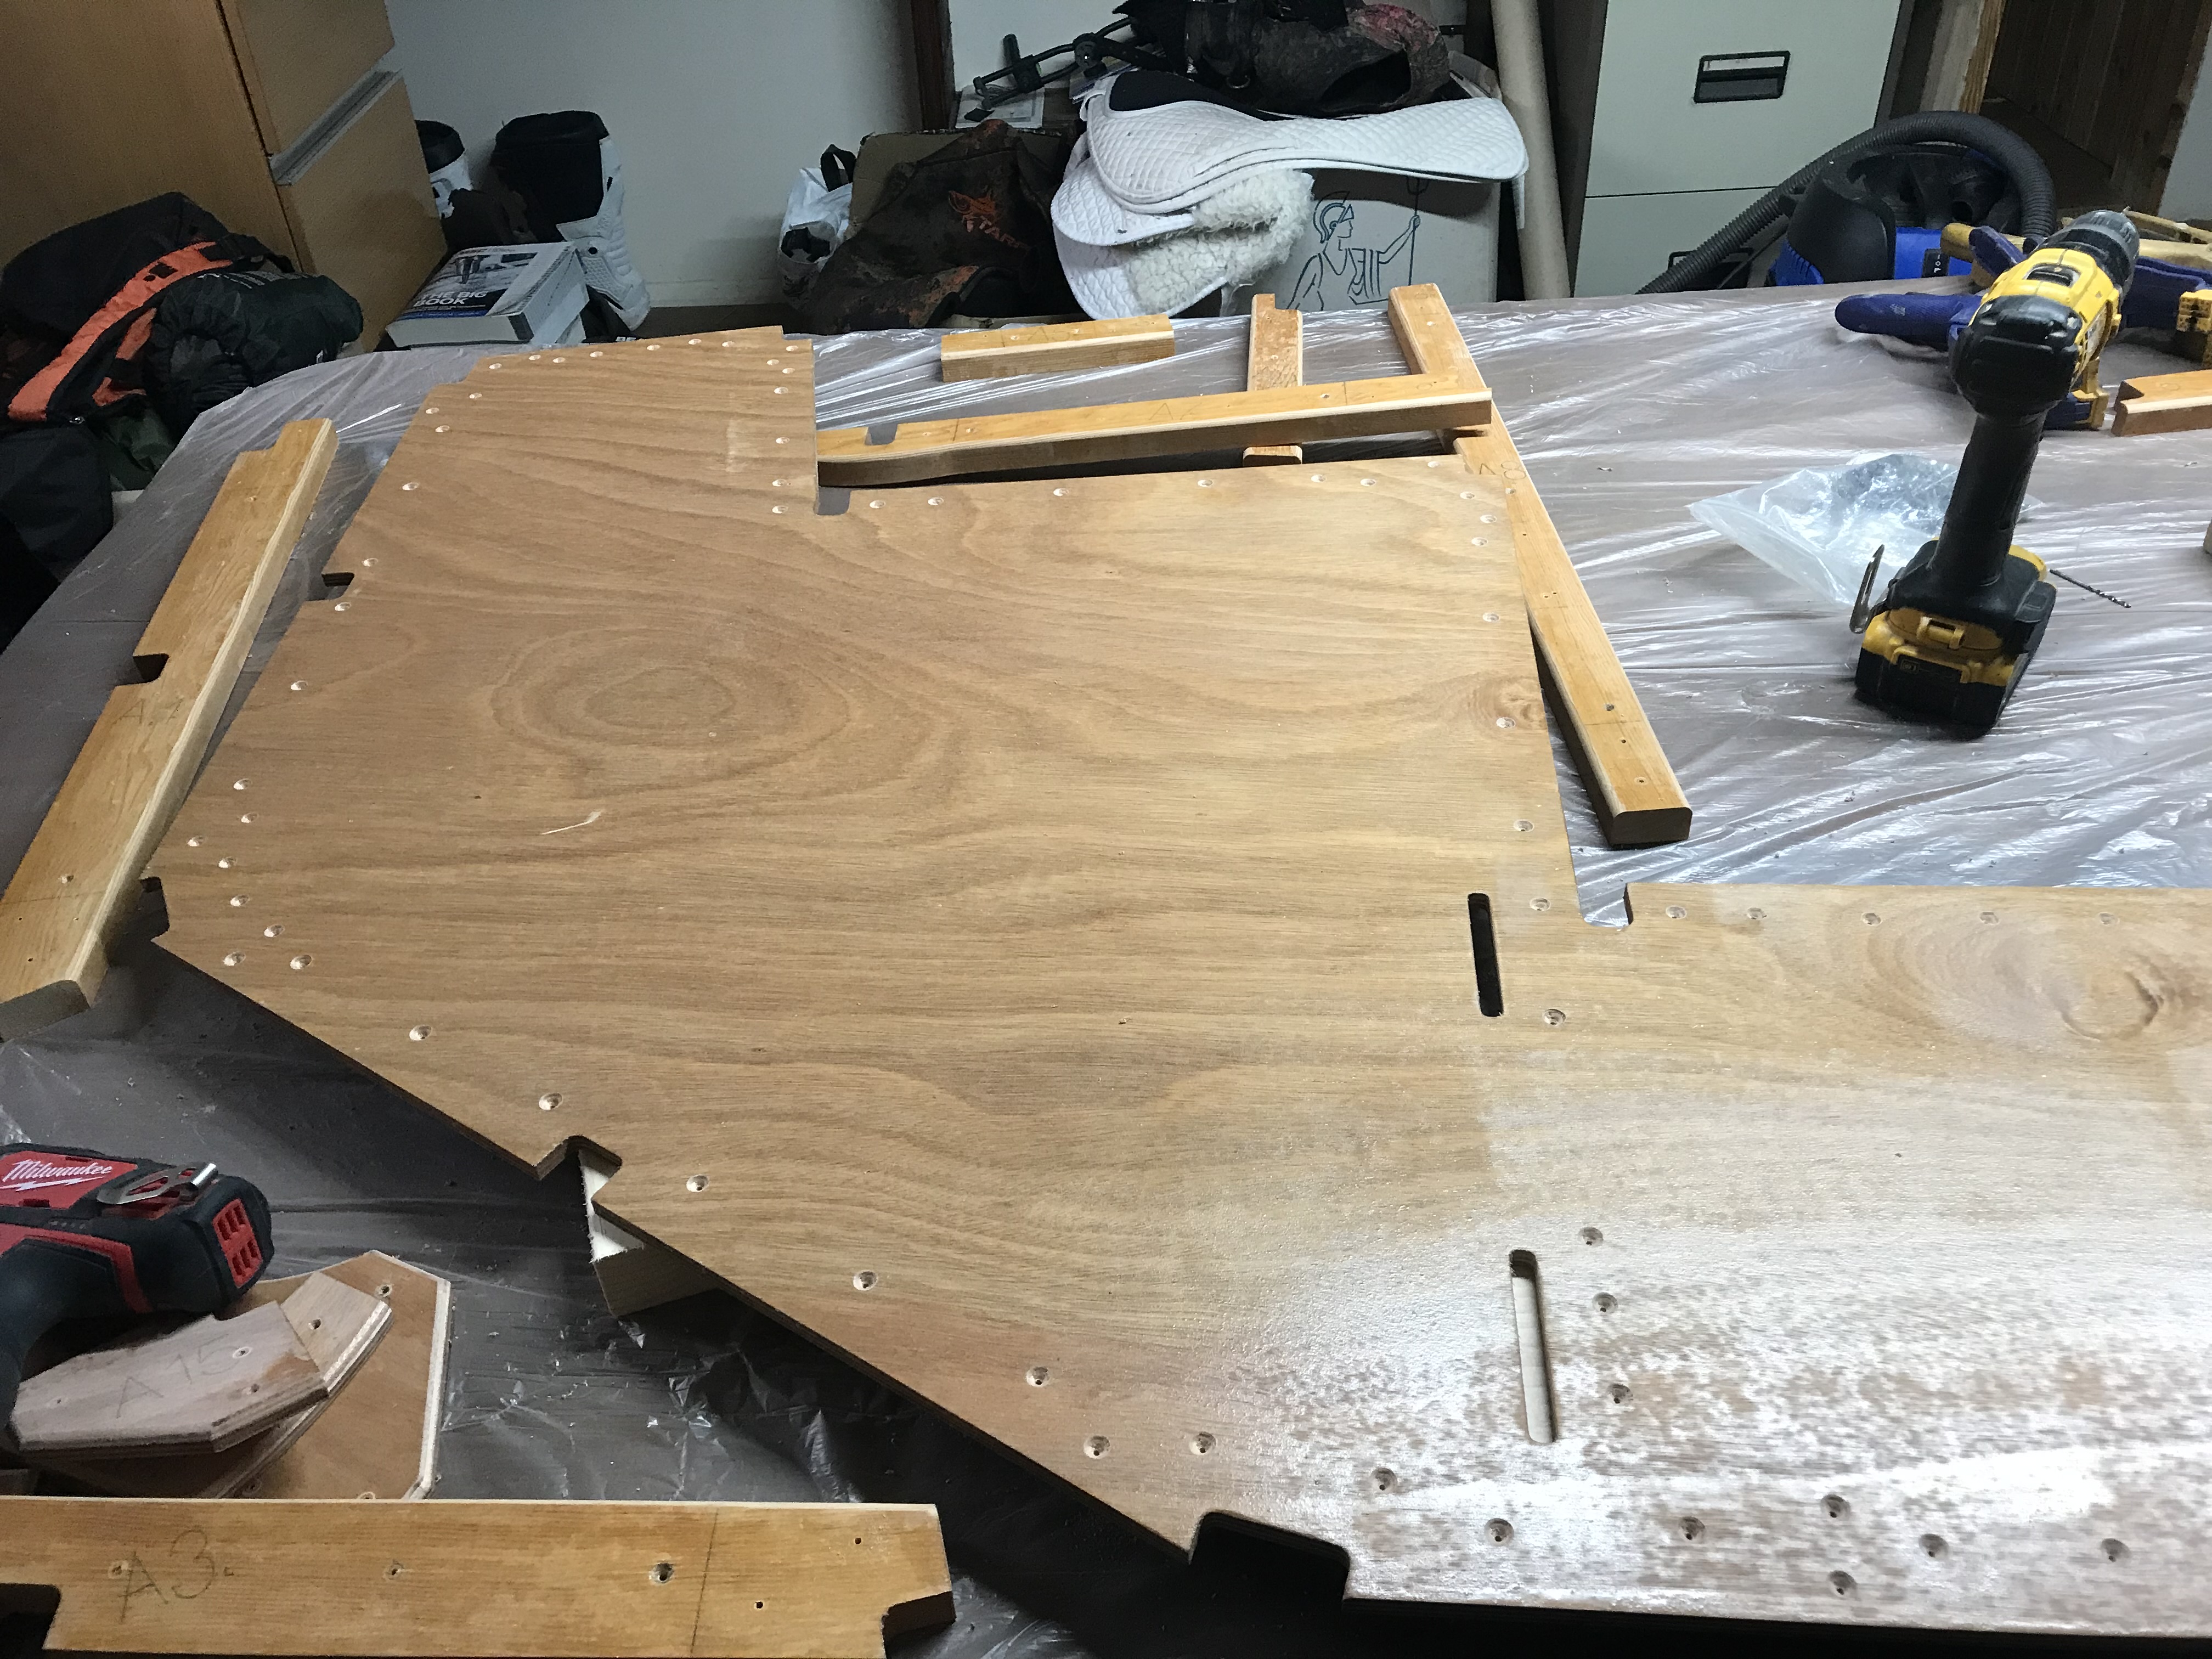
Cut out all the ply parts, trimmed the tabs off with a trim router and buzzed them over with the sander, collected the wood part together and laid everything out, marked the bench and fix down some assembly blocks, clamped down parts and pilot drilled and screwed working my way around the frame checking angles and diagonals as I went. Disassembled and coated everything with epoxy.
I have chosen to use West Systems 105 epoxy and 205 hardener, colloidal silica 406 as an additive for gluing and filleting. At a later date I have also used 404 high density ultra strong adhesive filler.
Rubbed down all parts with 80 grit to make a good key for the gluing process, mixed up small amounts of epoxy and spread it out in a small roller tray to stop it going off to quickly, glued and screwed it all together cleaned up the excess and formed some fillets with it, I’m undecided if this is a good way to do the filleting, it’s a fare rush before the epoxy goes off. After the next frame, I decide to do the filleting as a separate job,I write this with hindsight on my side! It just means having to sand stuff again to get a good key. 6 hours work, filleting to finish and final coats of epoxy, which I’ll do wet on wet ,saves sanding in between coats and I think is the correct way / better way to do it if you can.

April/ May 2025.
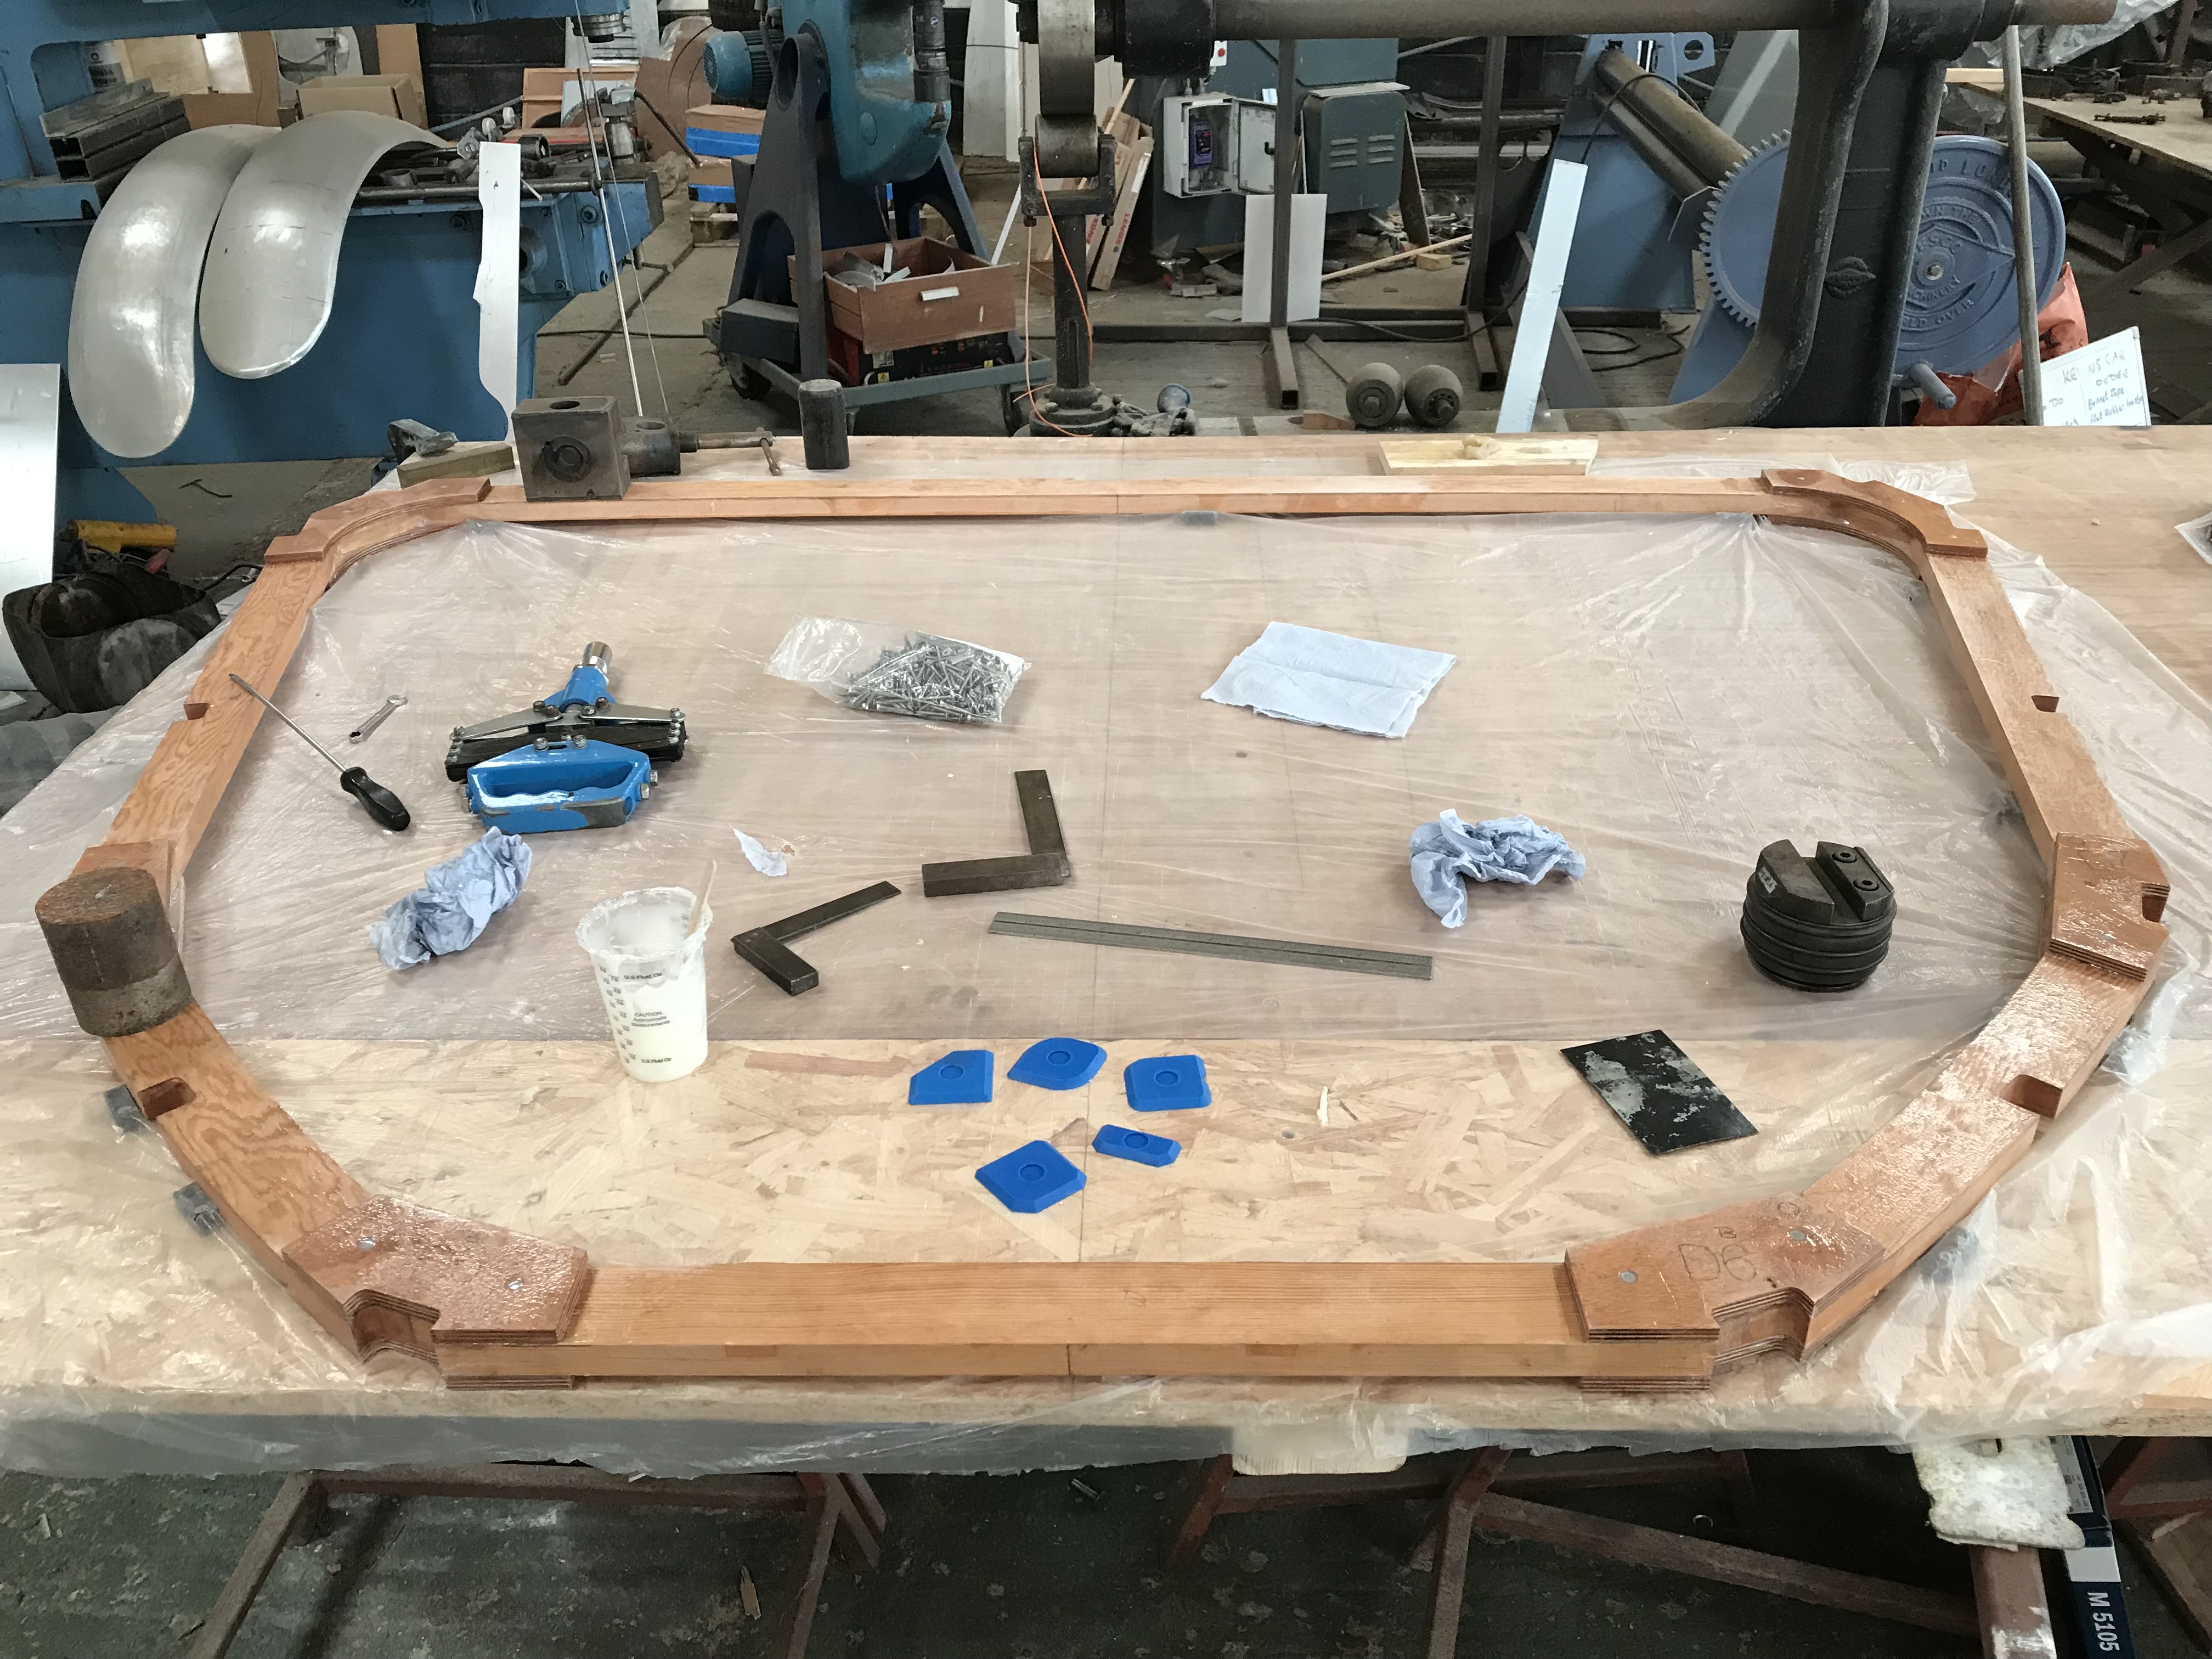
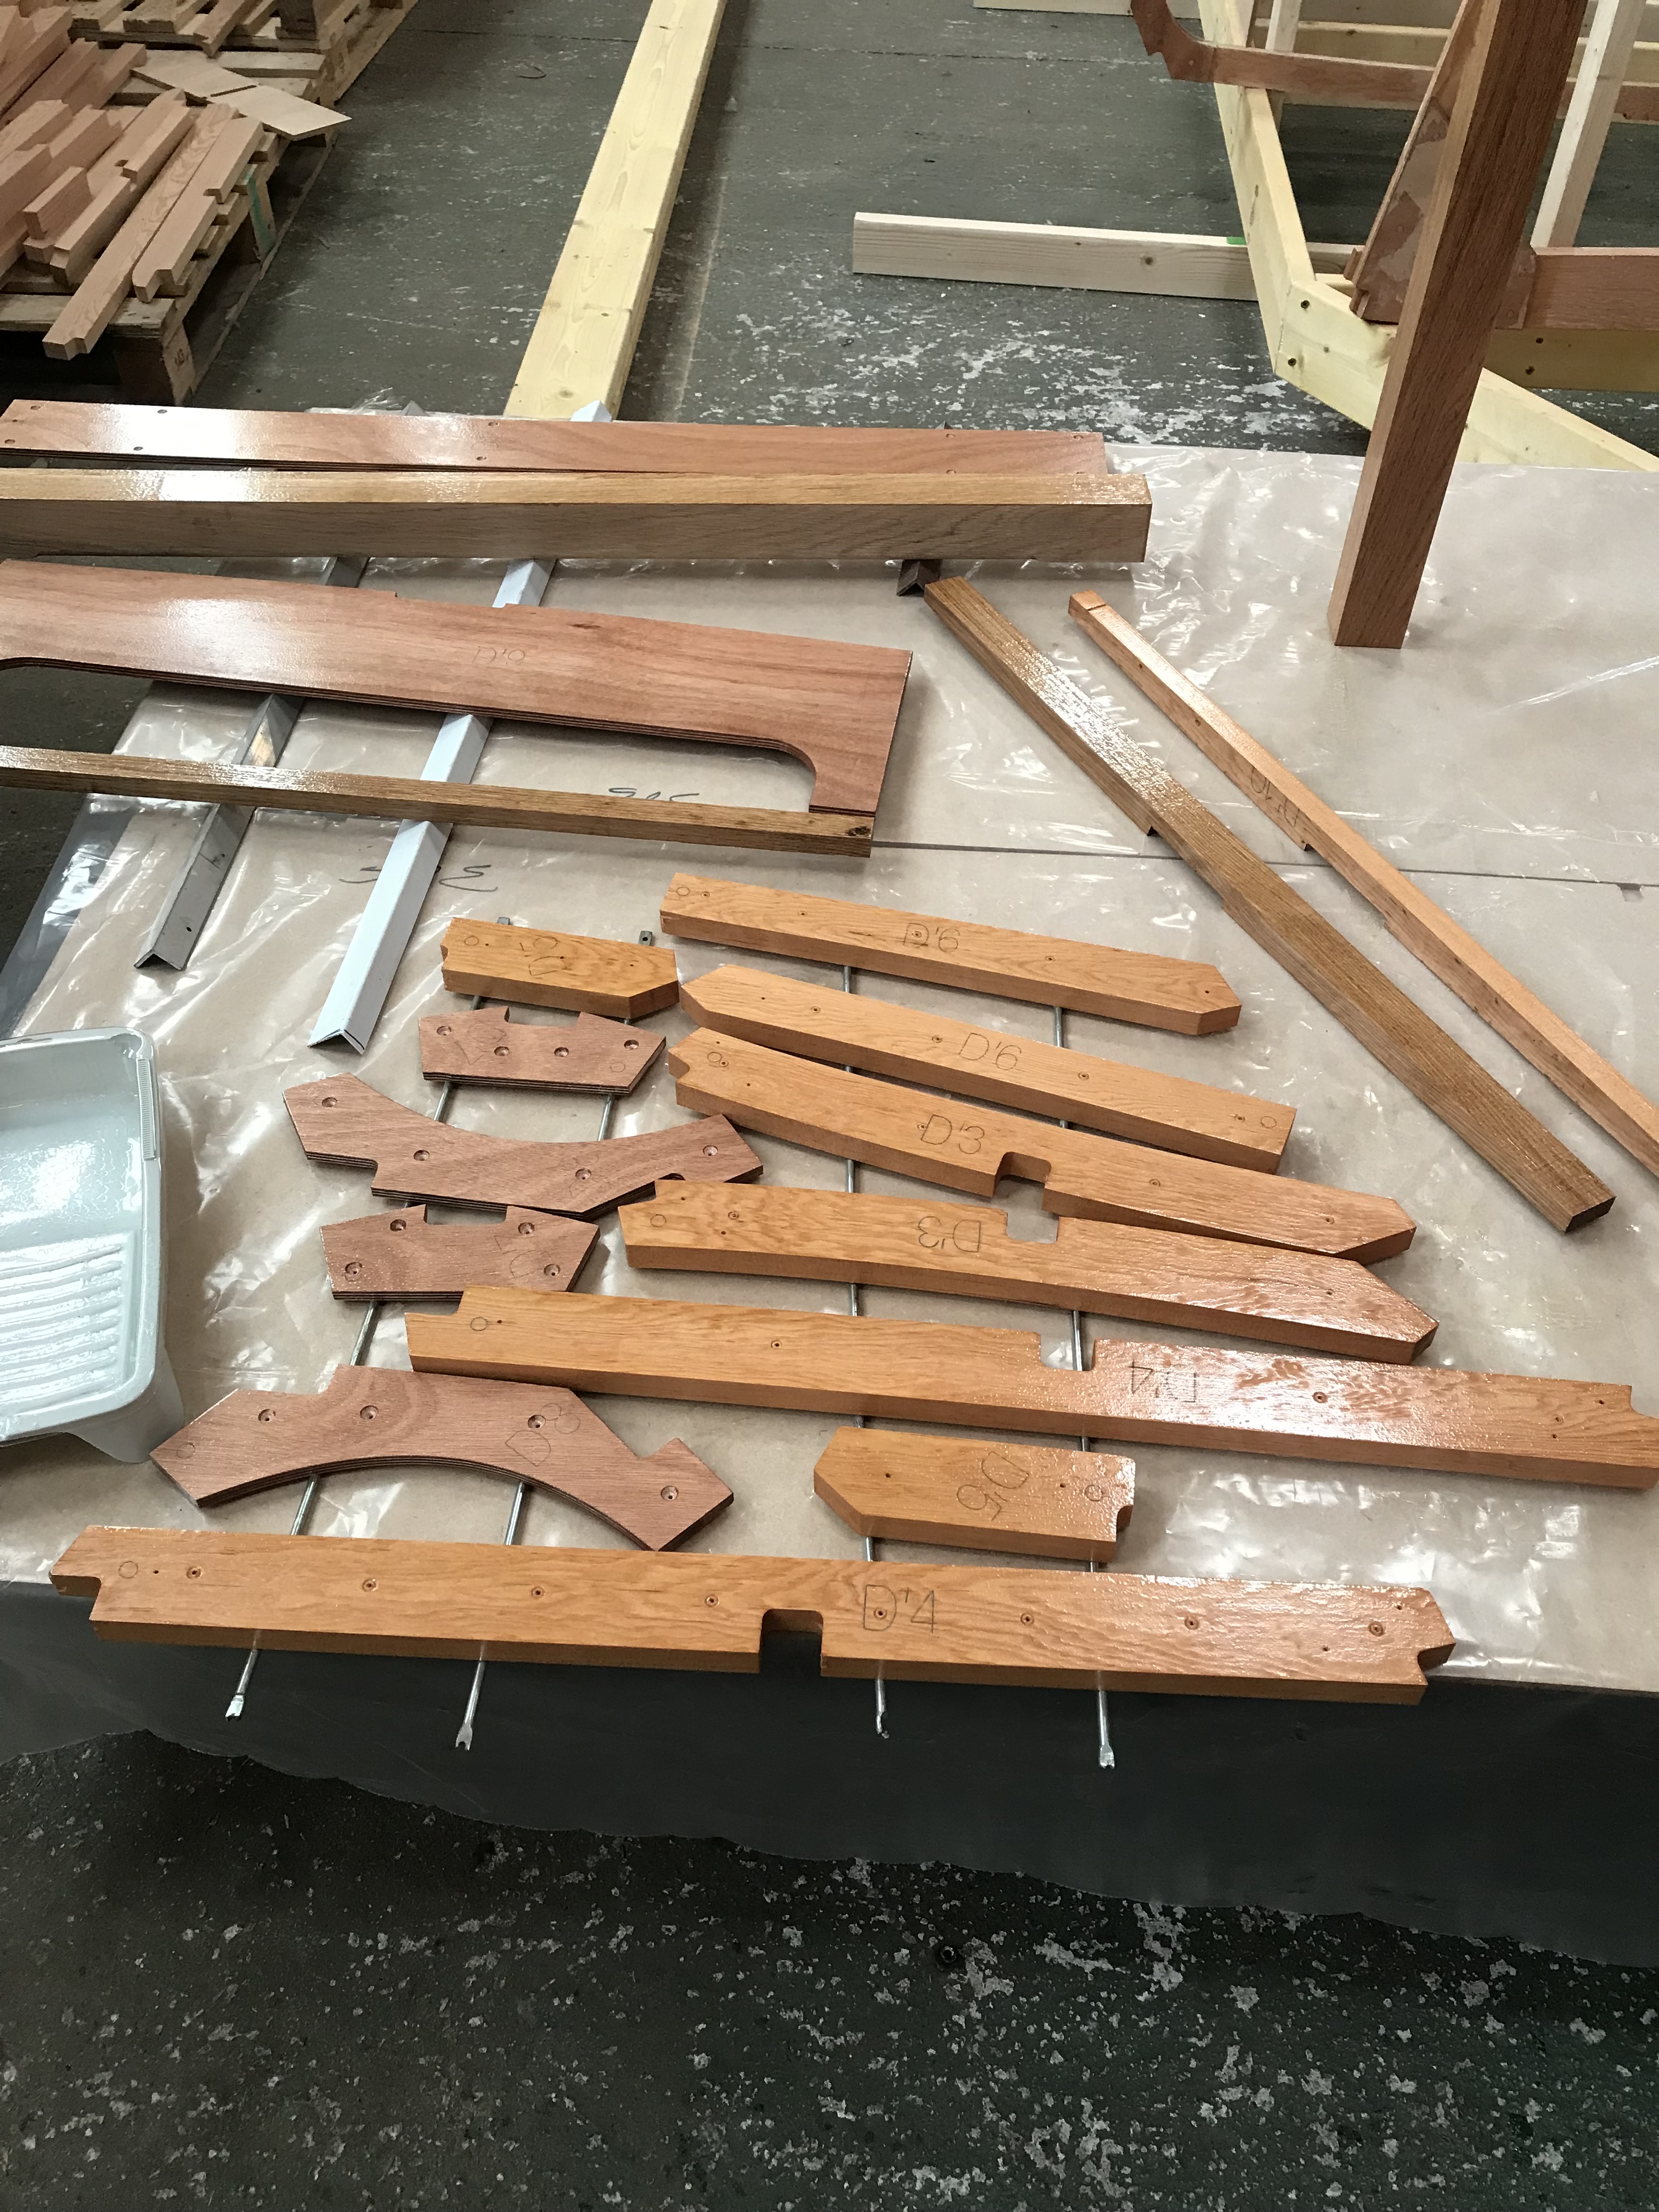
FRAME D. Similar process as frame E, but no large pieces of ply to help with angles and holding length of pine in place, check the diagonals and dimensions, and again!! Glue and screw. 6 hours.
Couldn’t find D6,7,8, doublers , they weren’t listed in the plans showing all the sheets with the numbered parts so I called Phil at Fyne boat kits and he was in agreement, Phil very quickly cut out and send me the missing pieces. Thank you great service. Phil then chased this up with various people and actually the parts were there, on a sheet well down the pile but not listed, amendments have been made so should be sorted for the future.

May/June 2025.
No boat building, but building my sea miles, all part of the process. Did my first solo channel crossing,Dartmouth to Guernsey happy days.
July 2025.
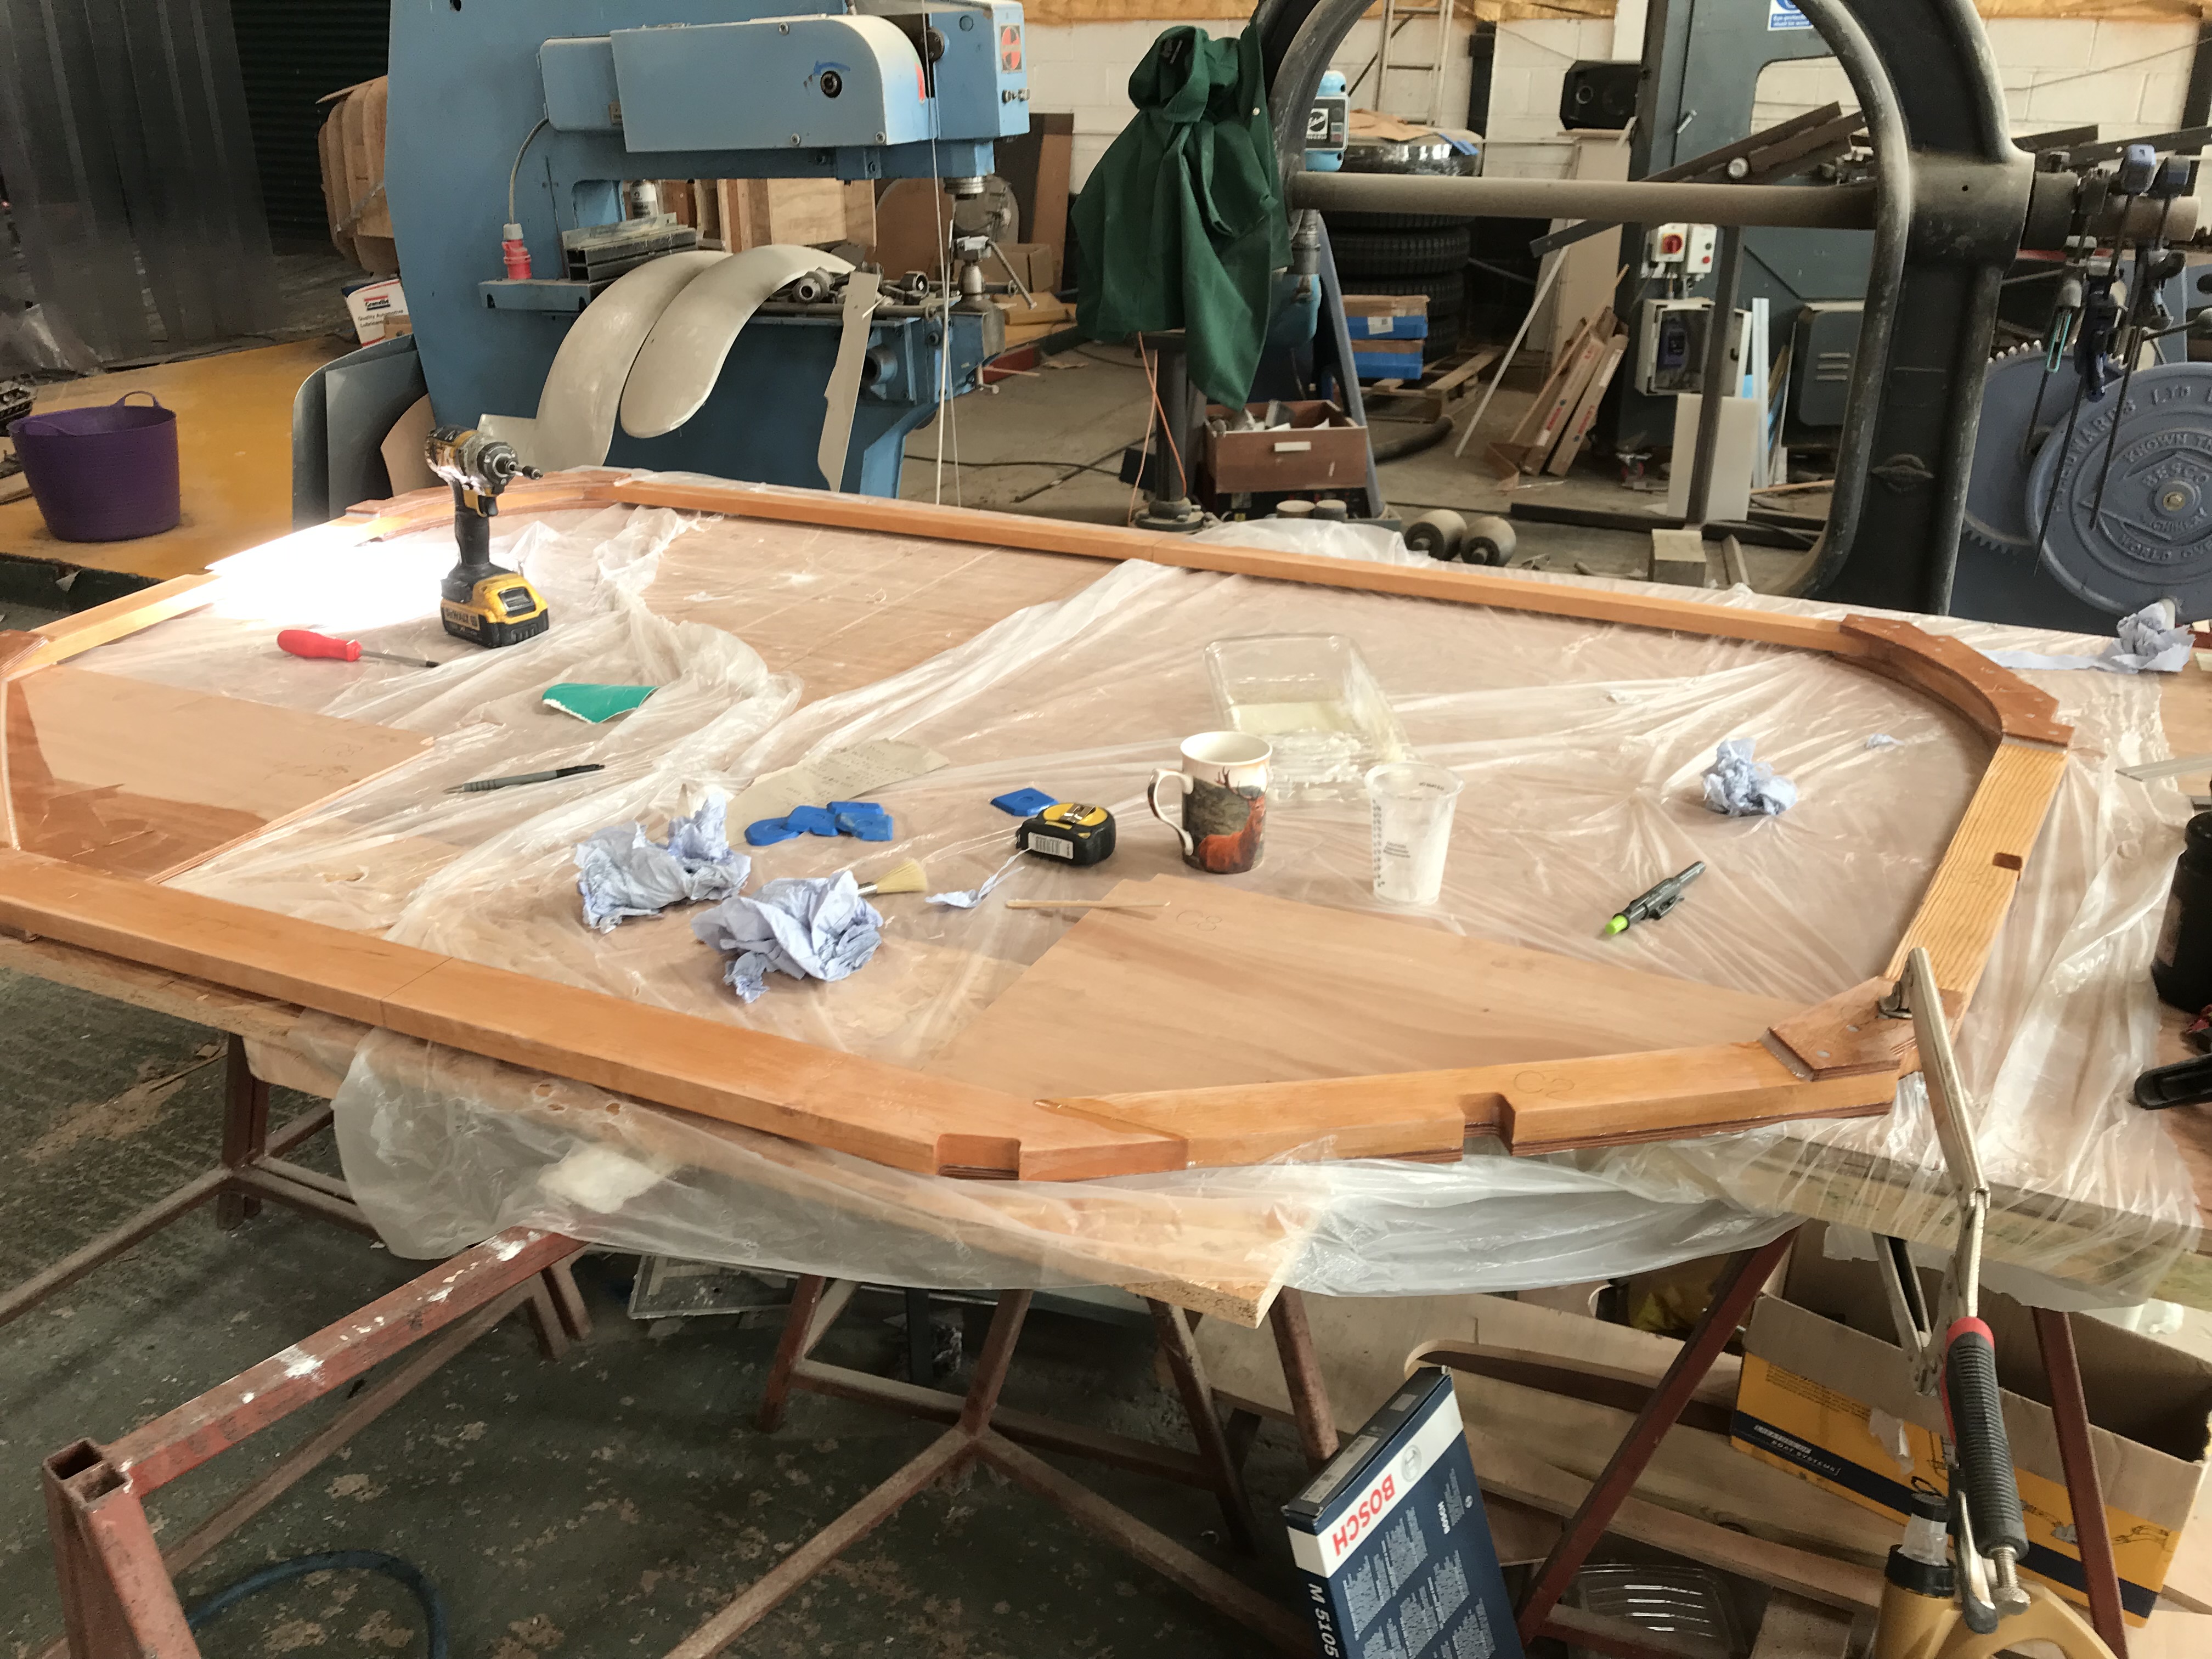
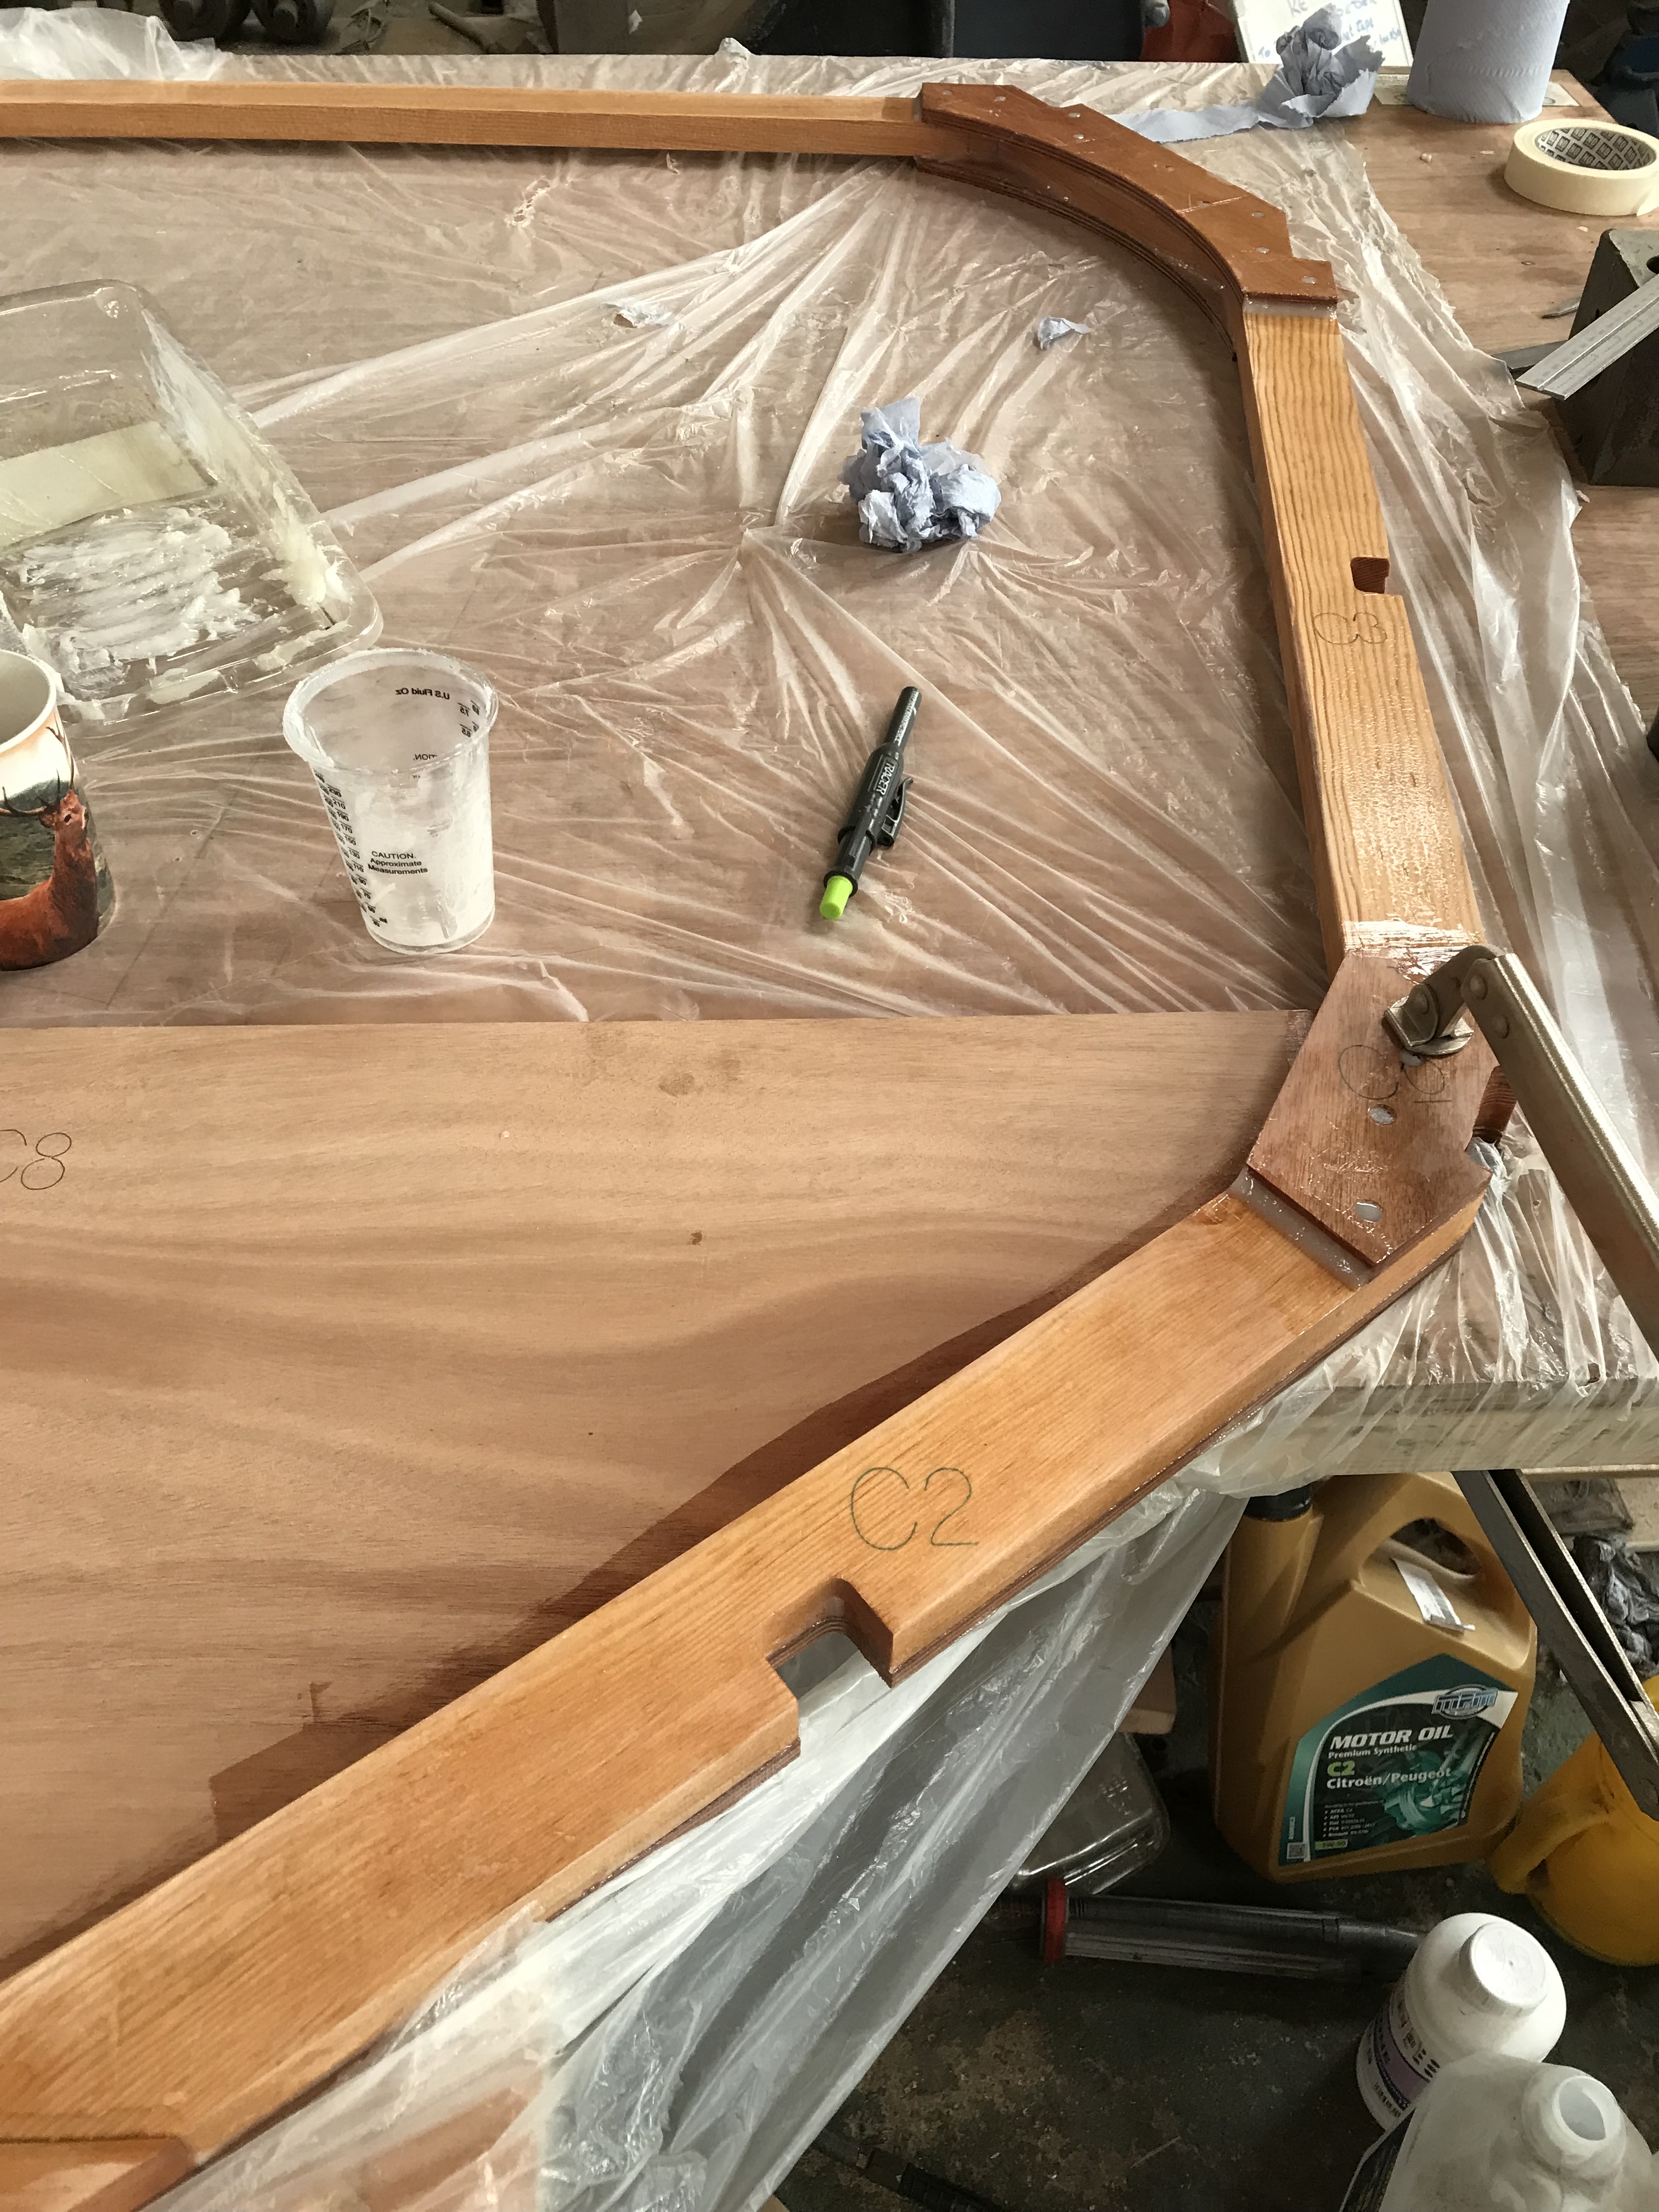
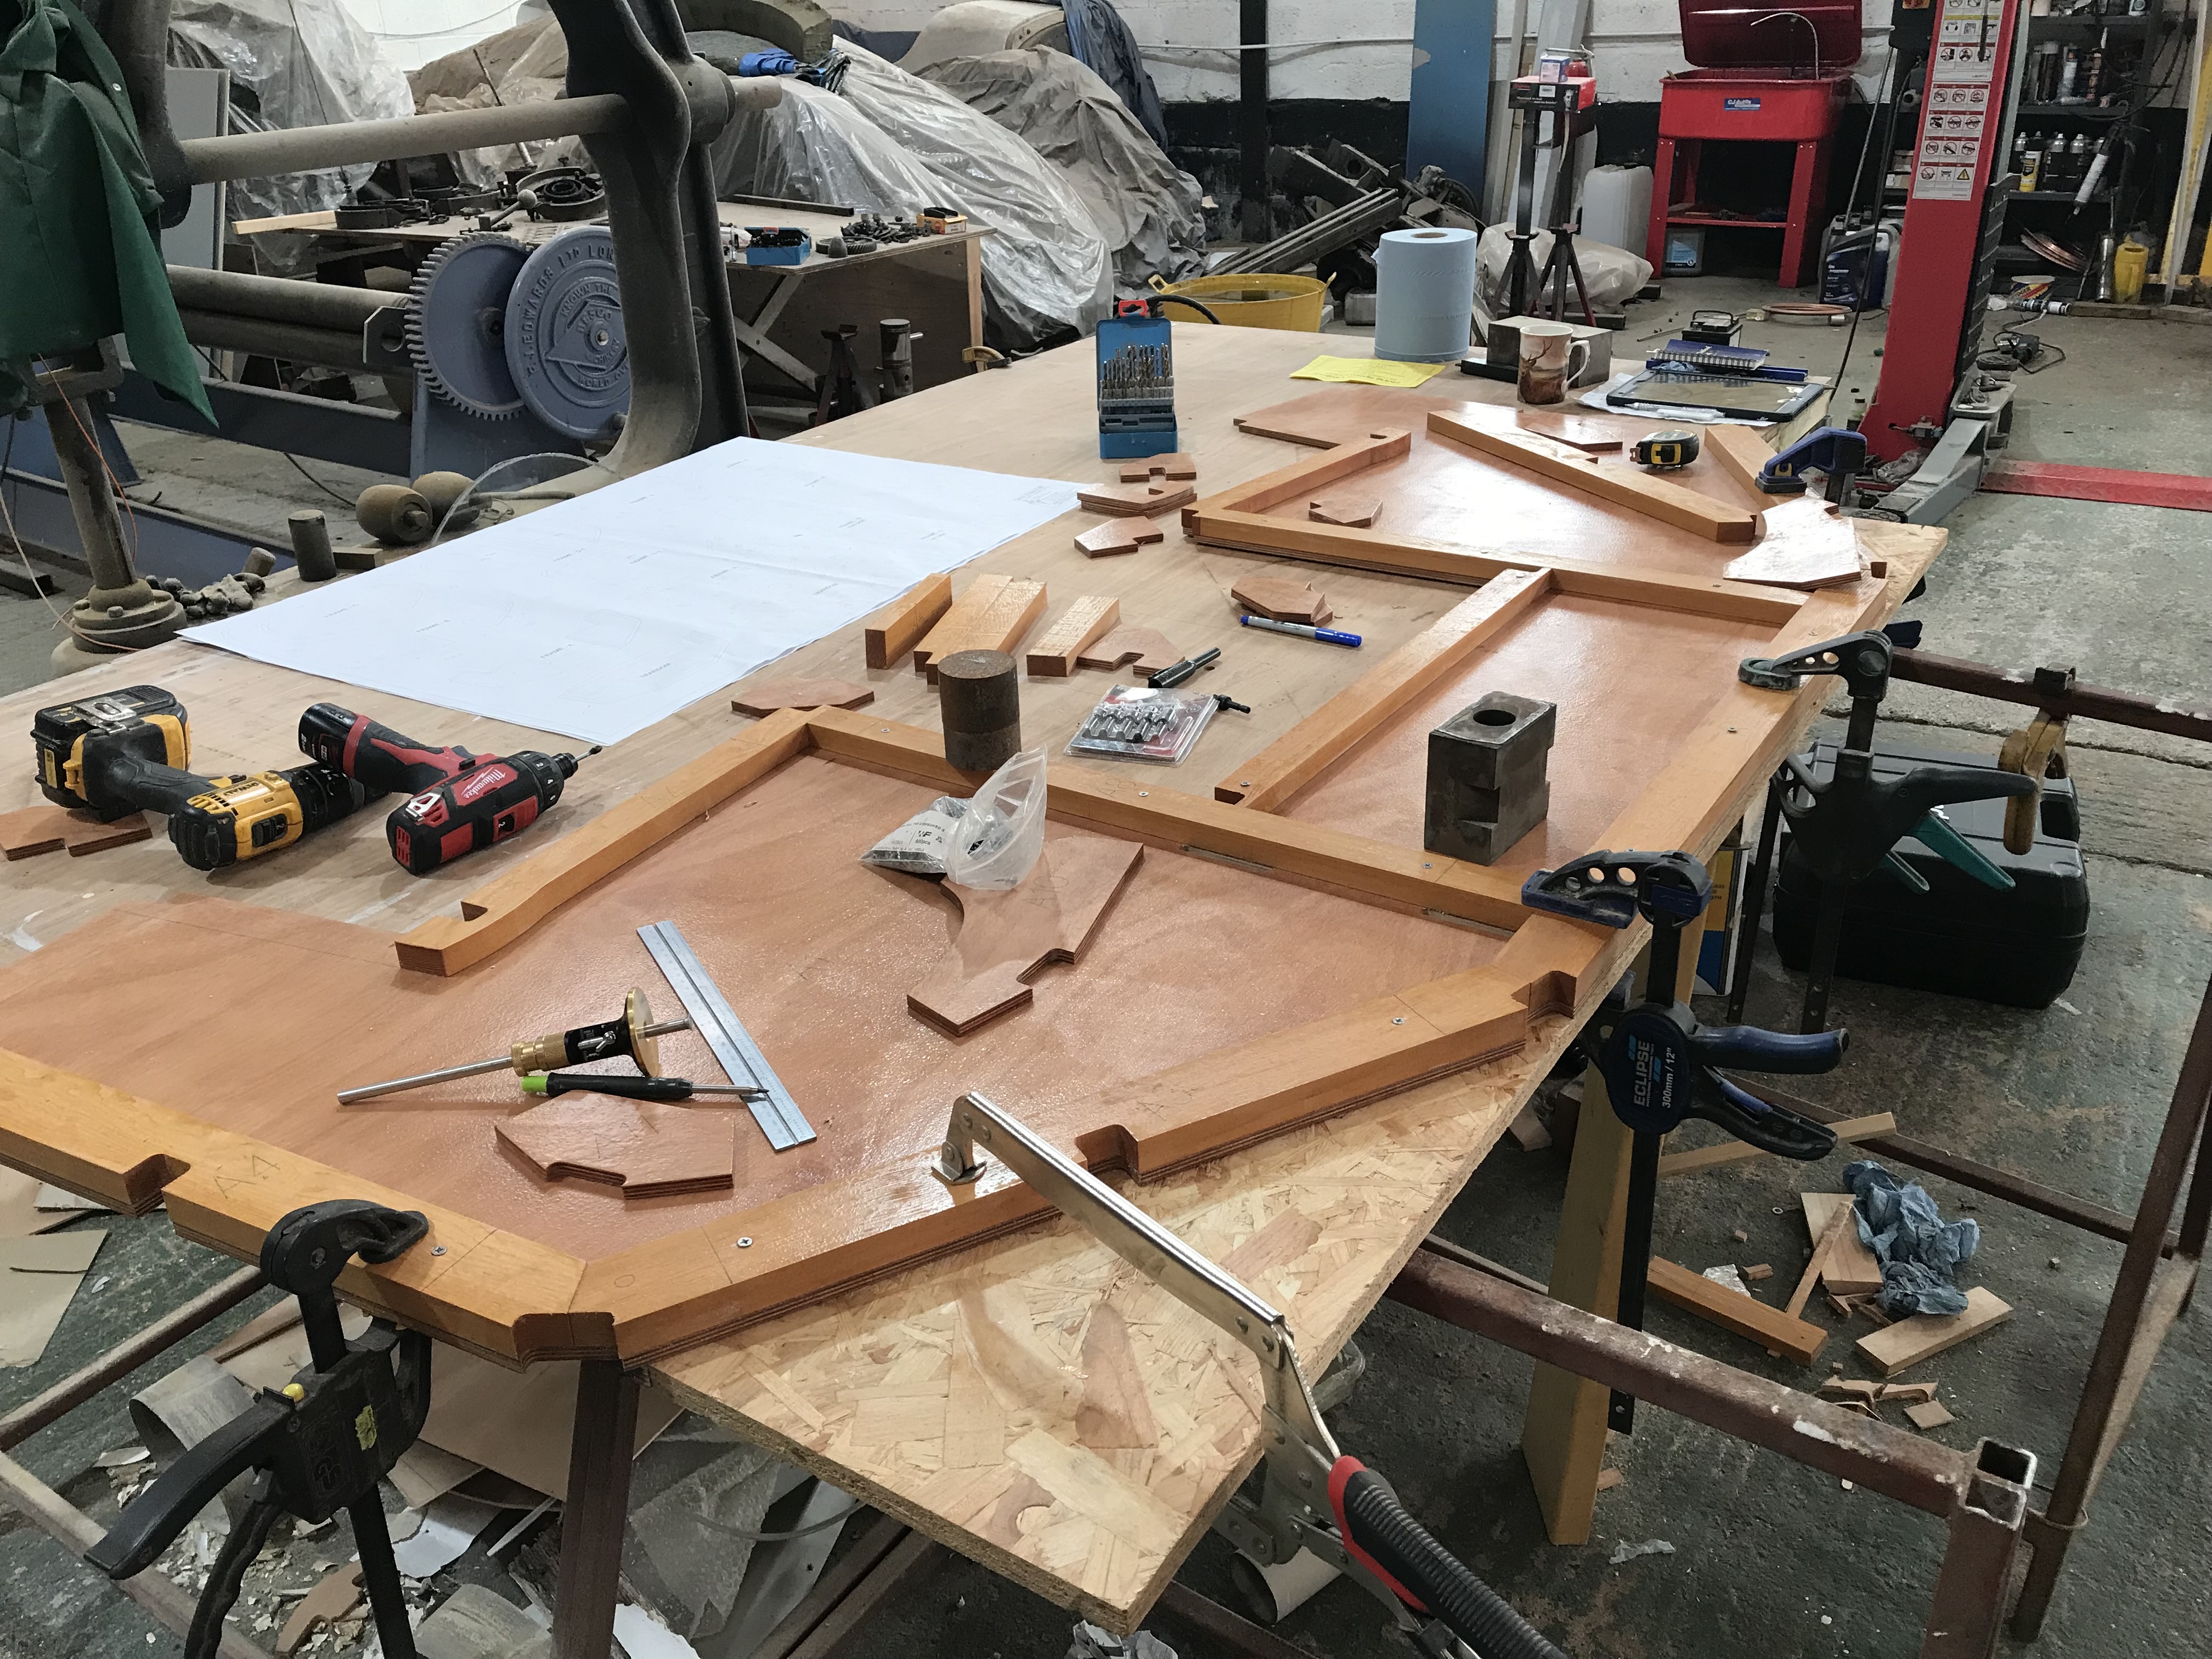
Frame C. Same prep as before, big circle with not much support so lots of accurate marking out and plenty of assembly blocks, checking diagonals and squareness, glue and screw. 41/2 hours.
July 2025.
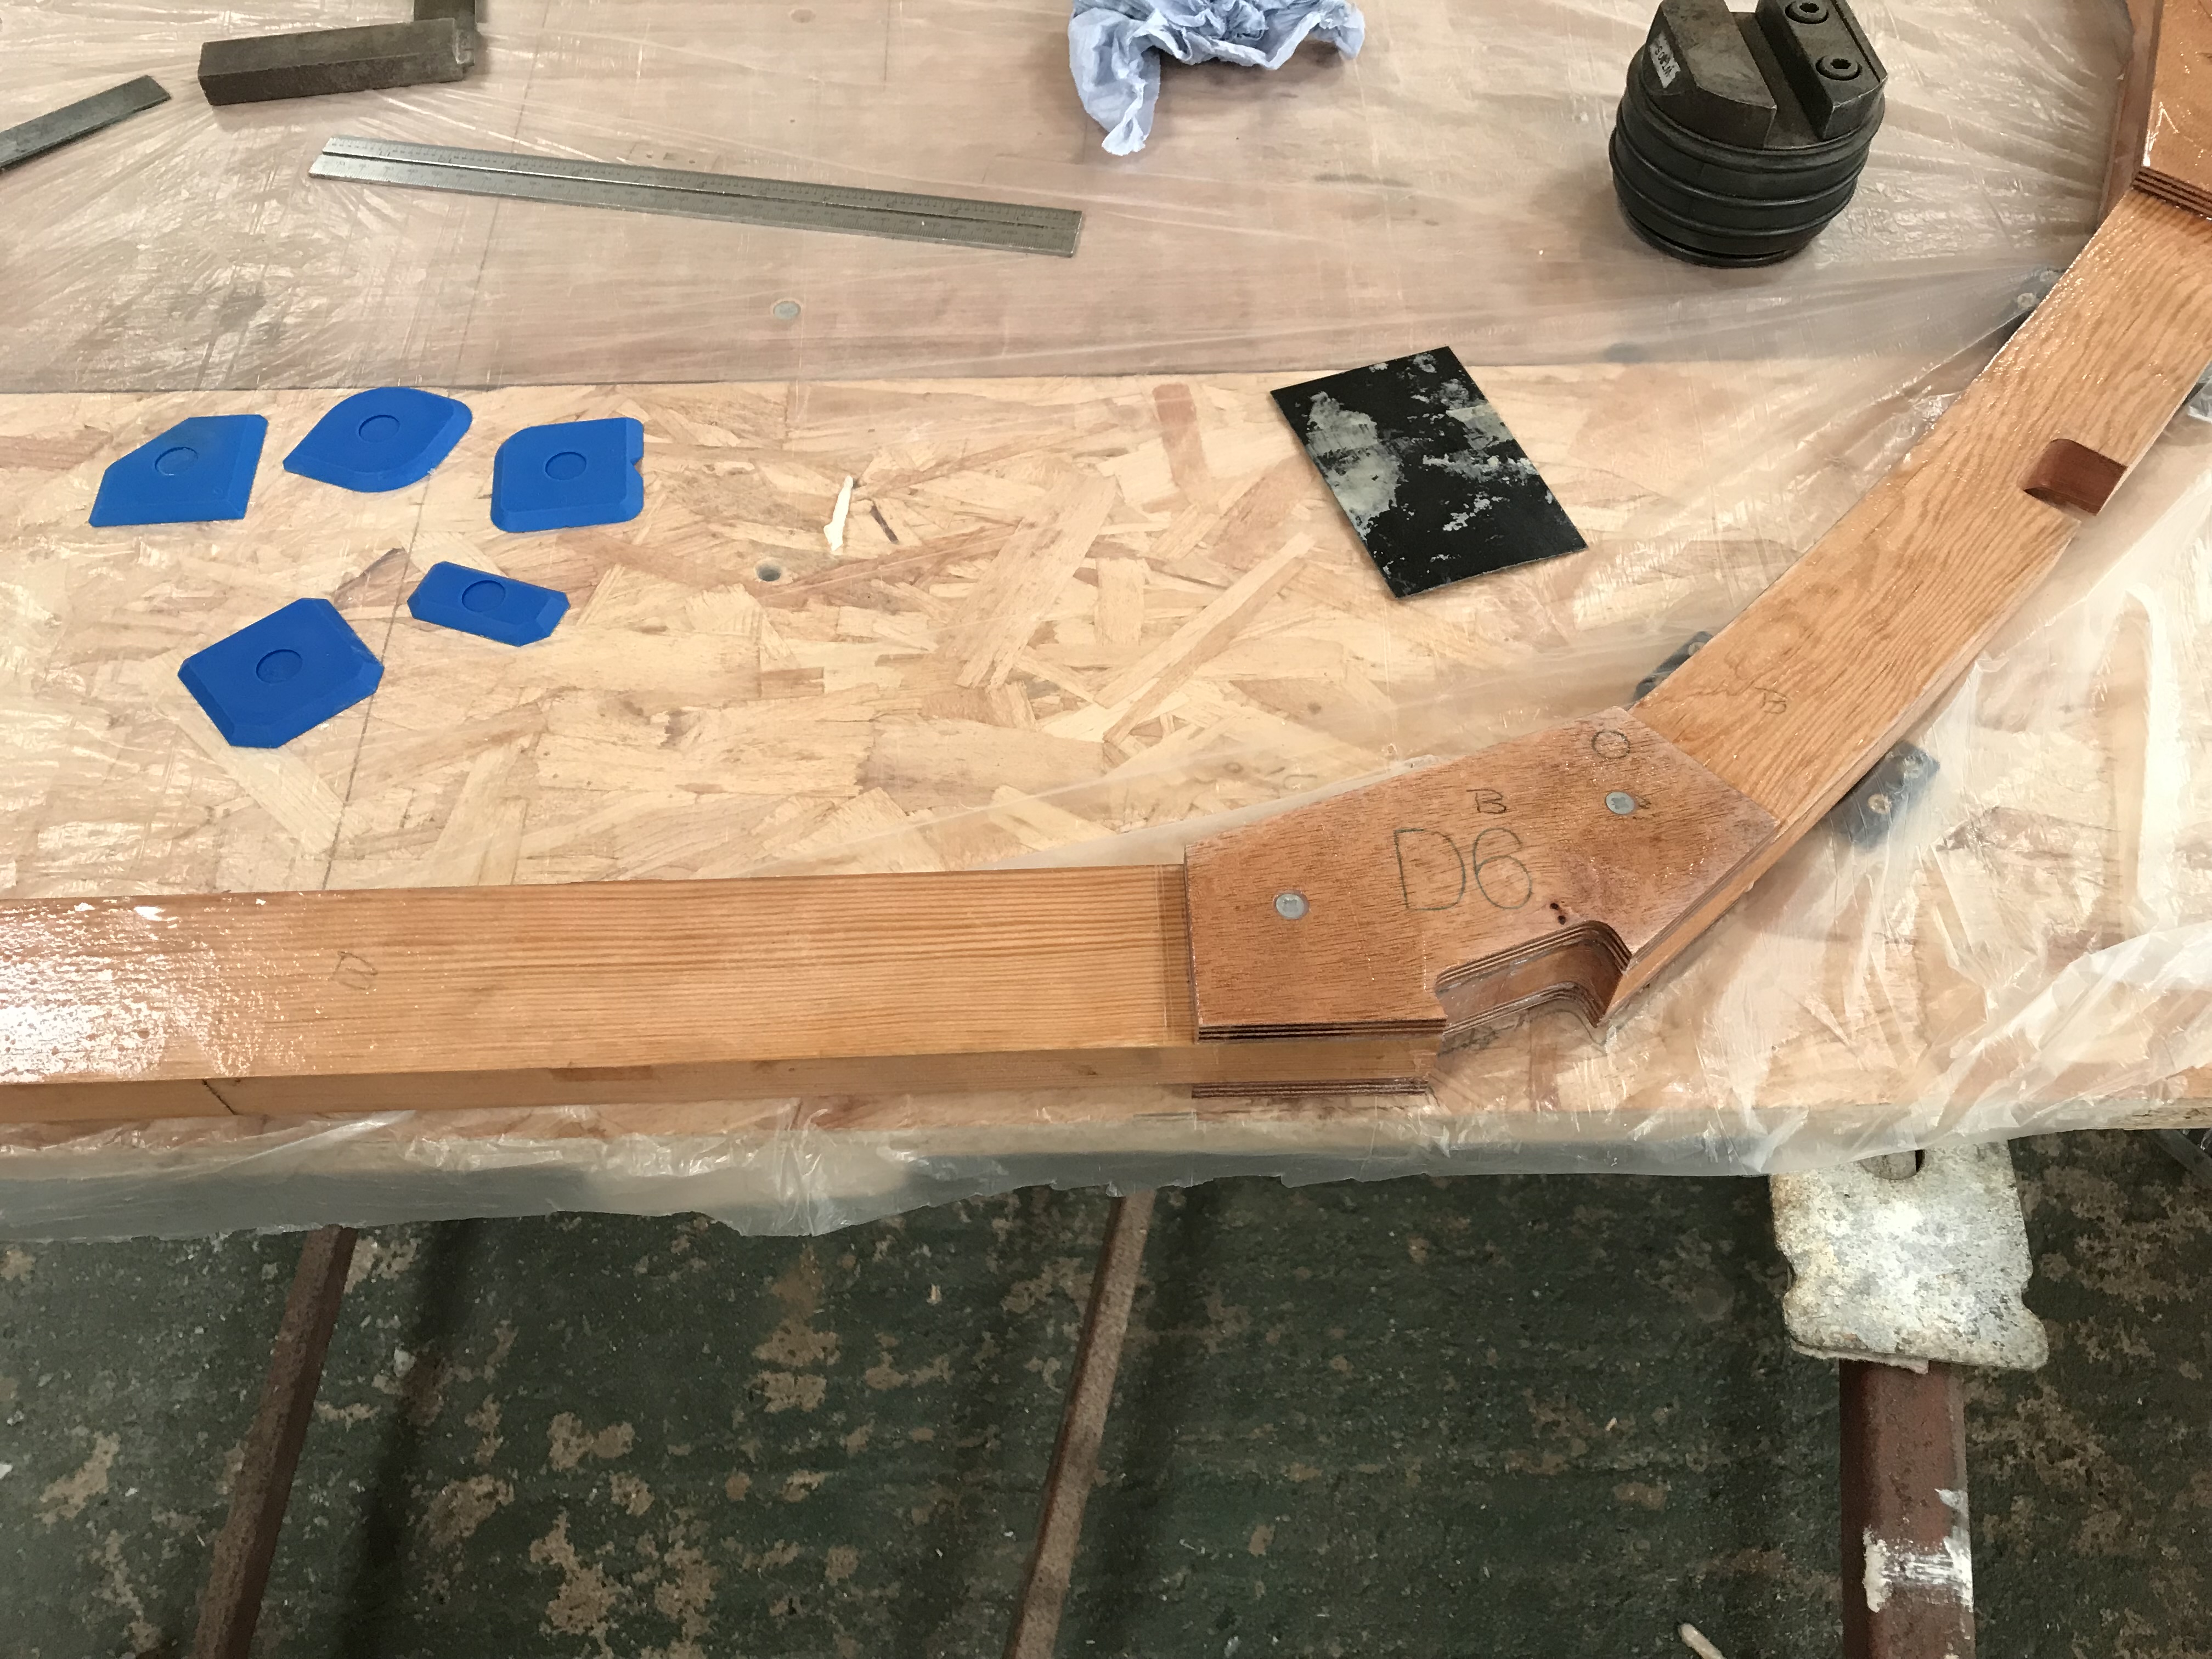
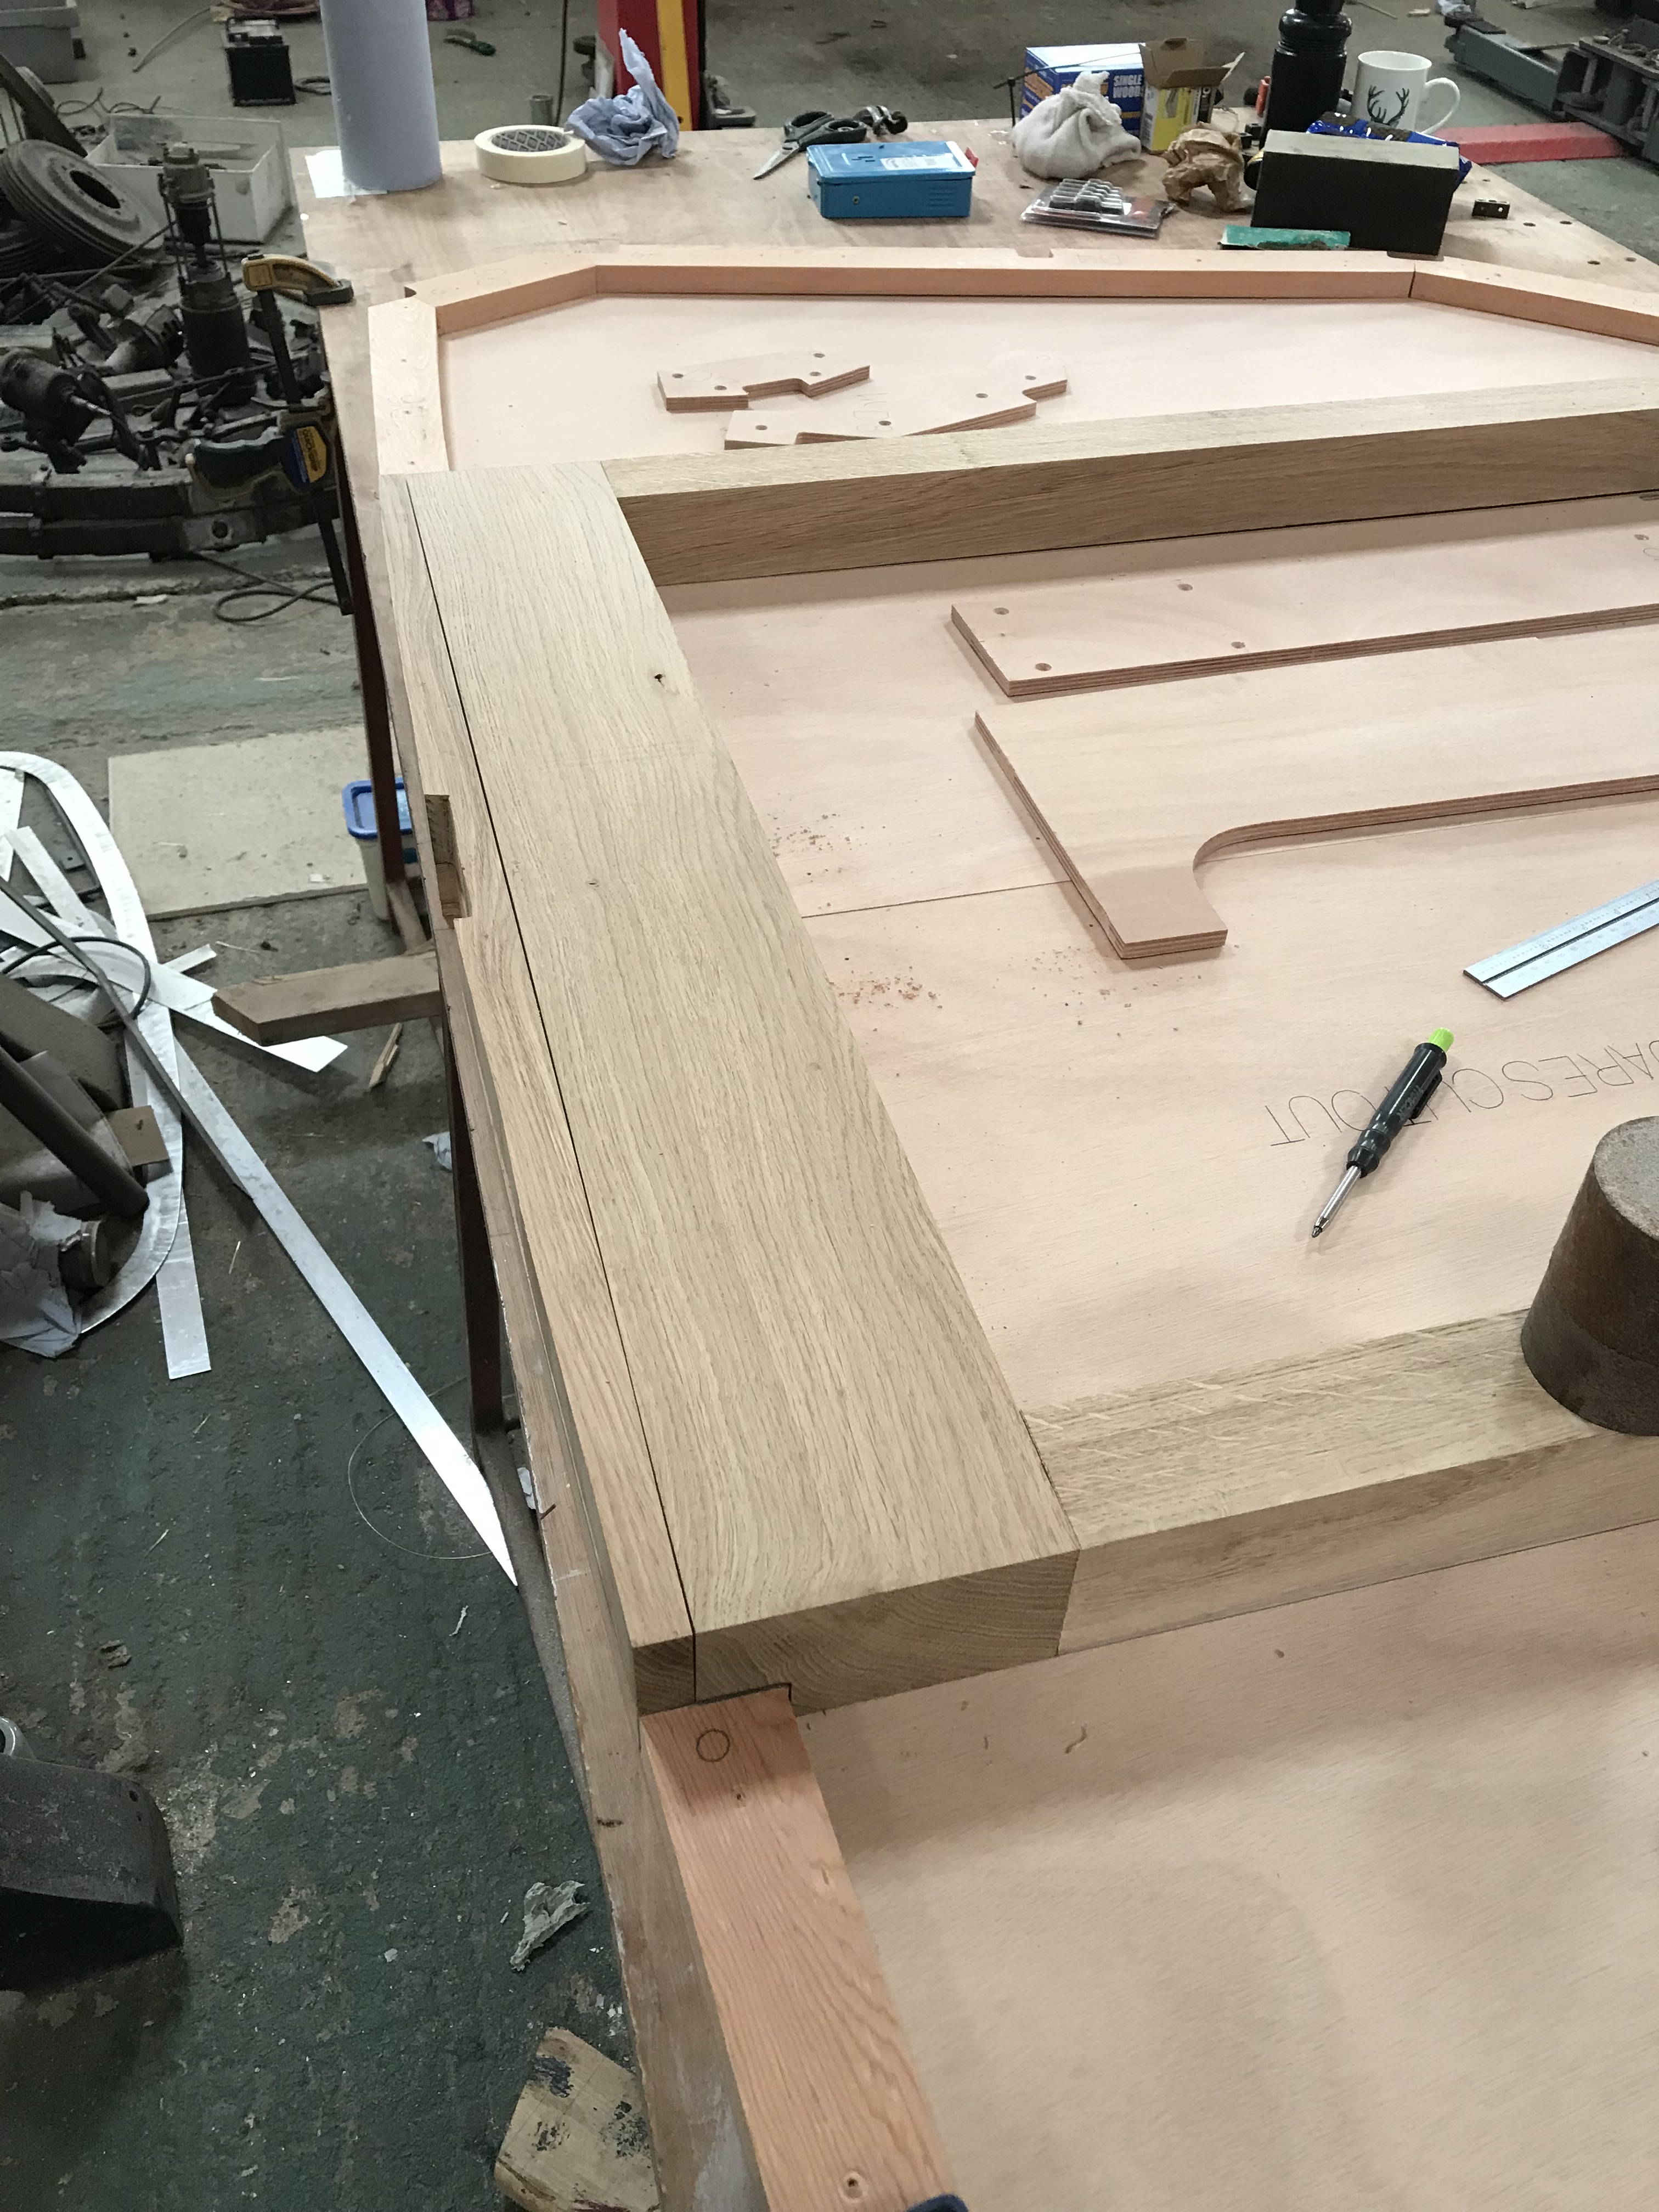
Frame D1. This frame has the oak beam and compression posts for the mast and 1st keel bearer.
Trip to the local saw mill, Luton Green saw mill, very helpful family business, I explained what it was for and we picked out two nice pieces of rough saw dry oak, hopefully enough to get all my oak pieces from.
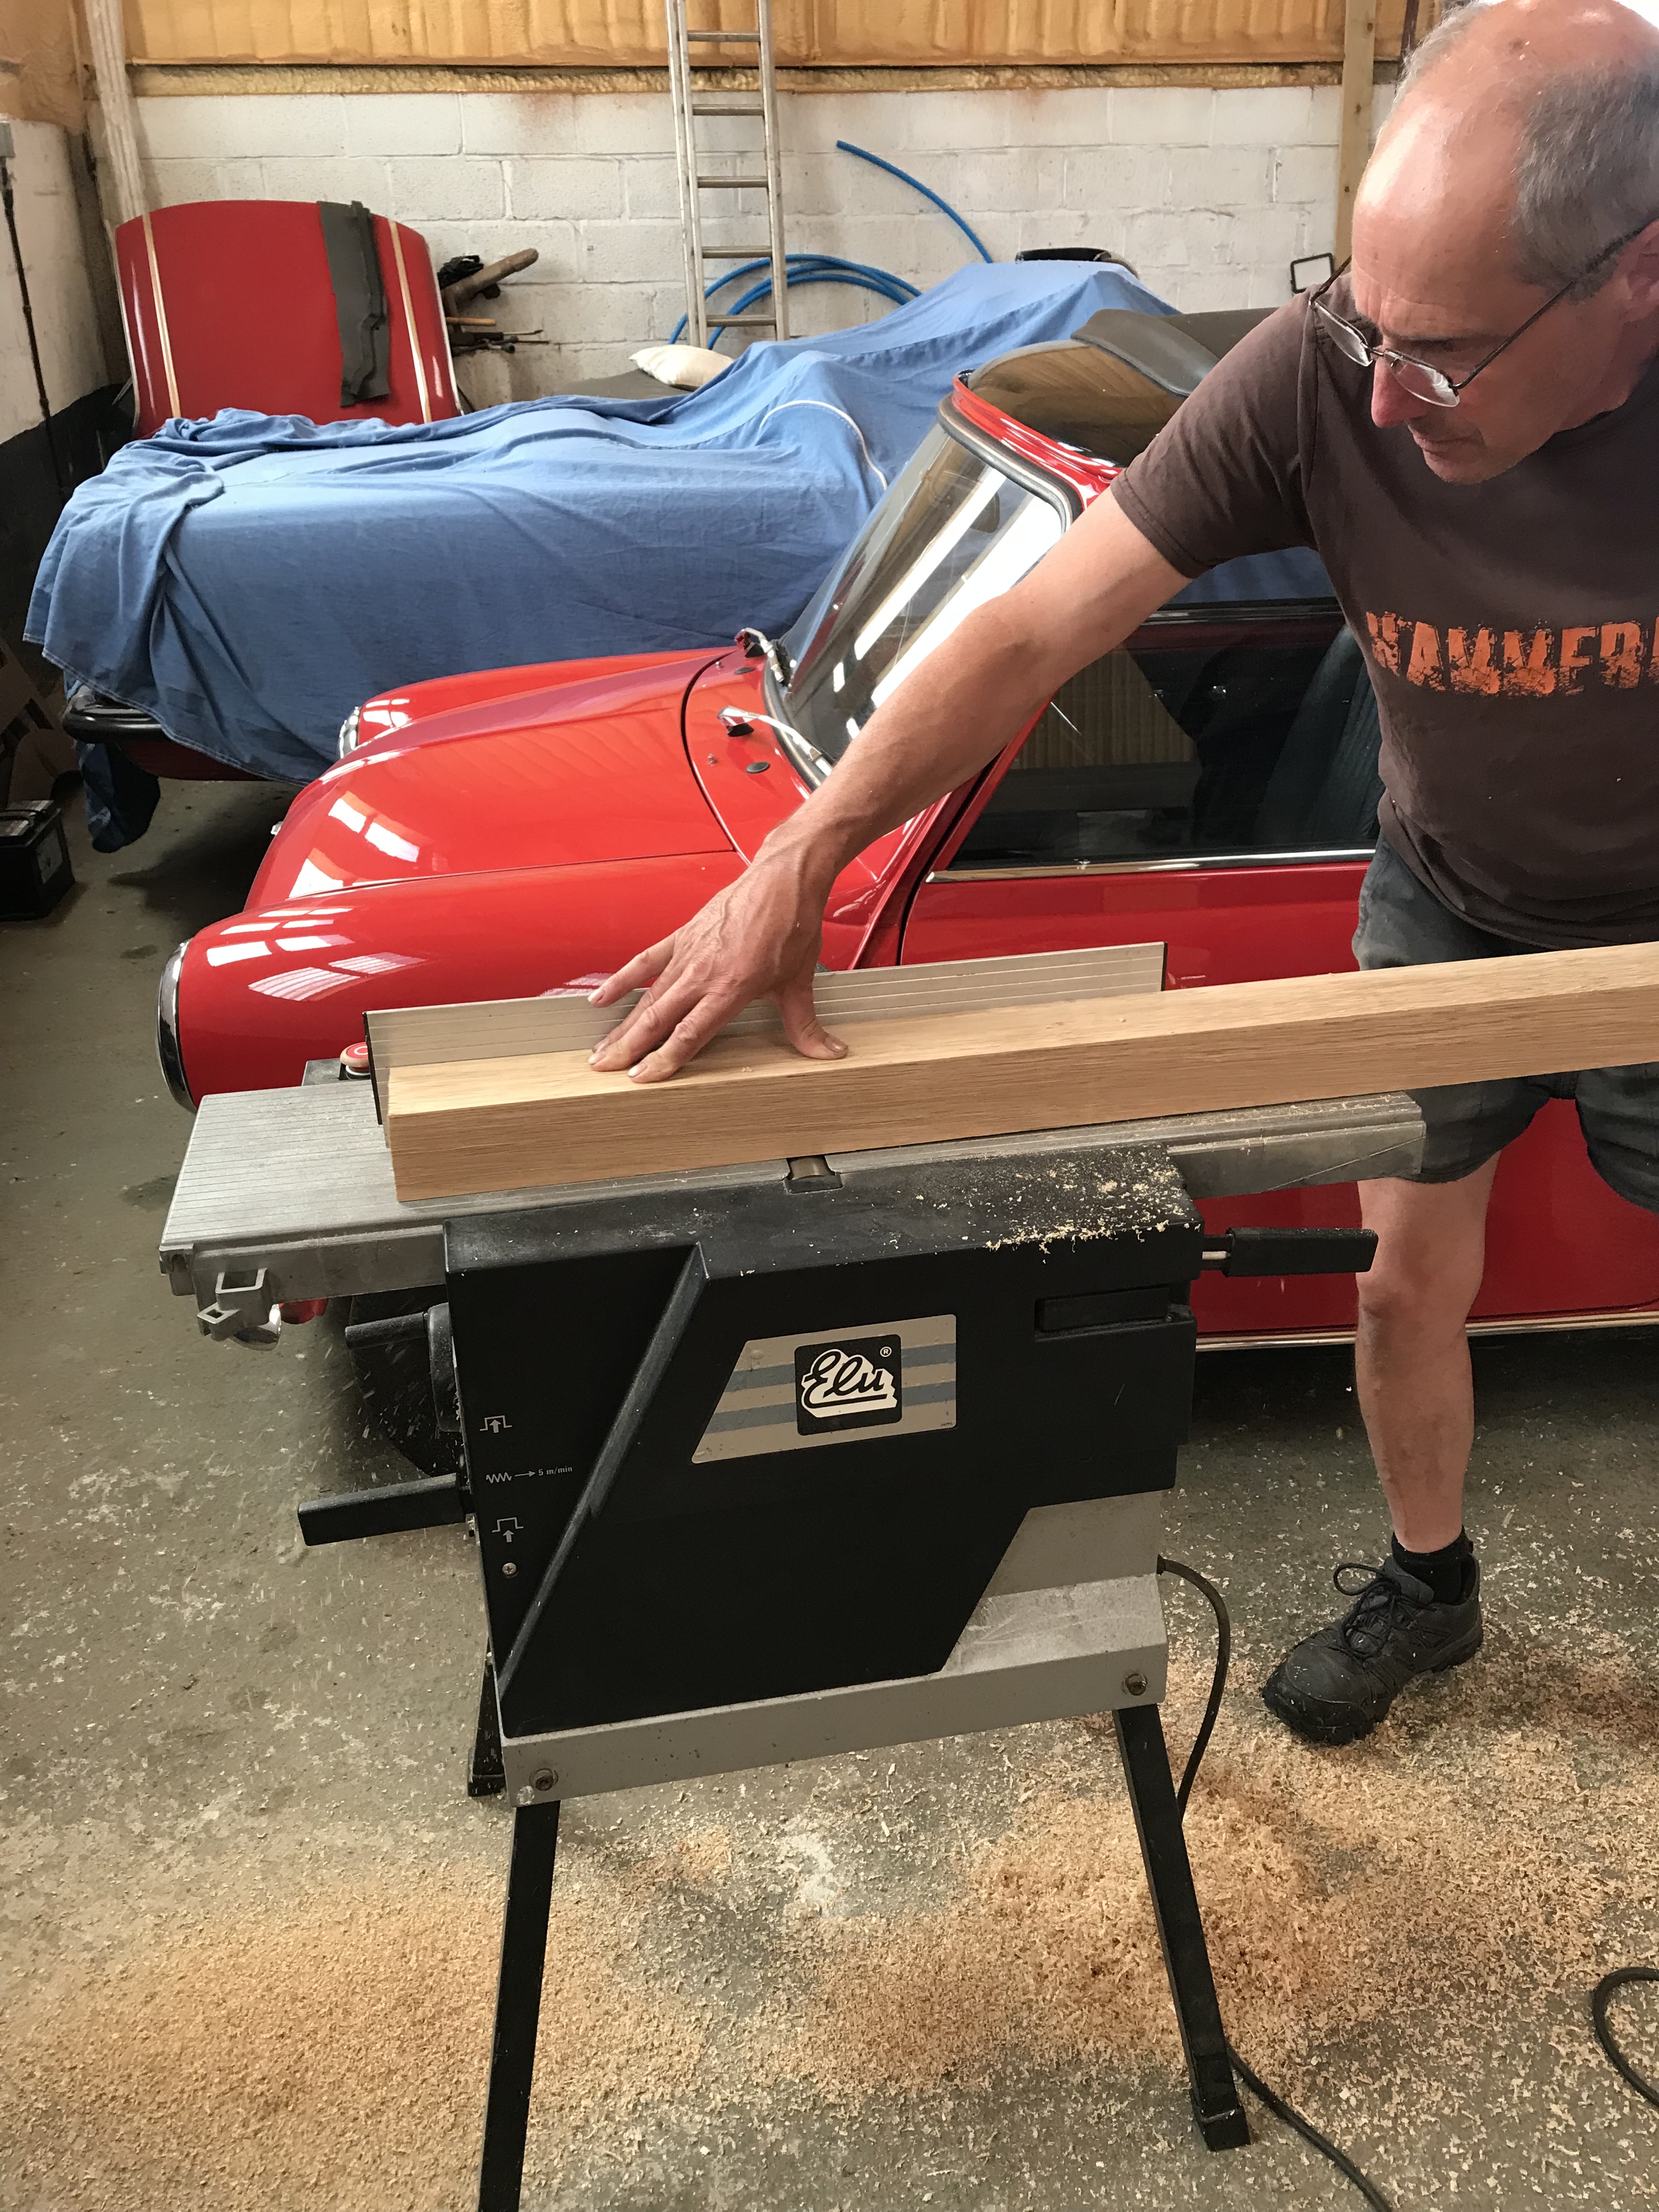
Back in the workshop I cut to length the various pieces and ran them through the plainer thicknesser, lots of saw dust, what lovely pieces of timber.
Prepared the ply and pine parts as before, drilled and screwed, dry run. The oak beam and posts edges are very sharp so I ran the router down them with a radius cutter to soften the edges, I’ve now gone around all the applicable ply and pine edges too, this will help with sealing the edges with the epoxy, it looks and feels a lot better. Glued and screwed checking measurements, that was a big one, 20 hours.


September 2025.
Frame S. Another frame, same prep dry fit up etc, only difference is there are some pine parts that require cutting an angle, on after all it is frame slope, the cut are only part way along an edge which makes it tricky on a table saw if like mine it only mitres one way, luckily a mate had a saw which mitred the other side, job done. 8 hours.


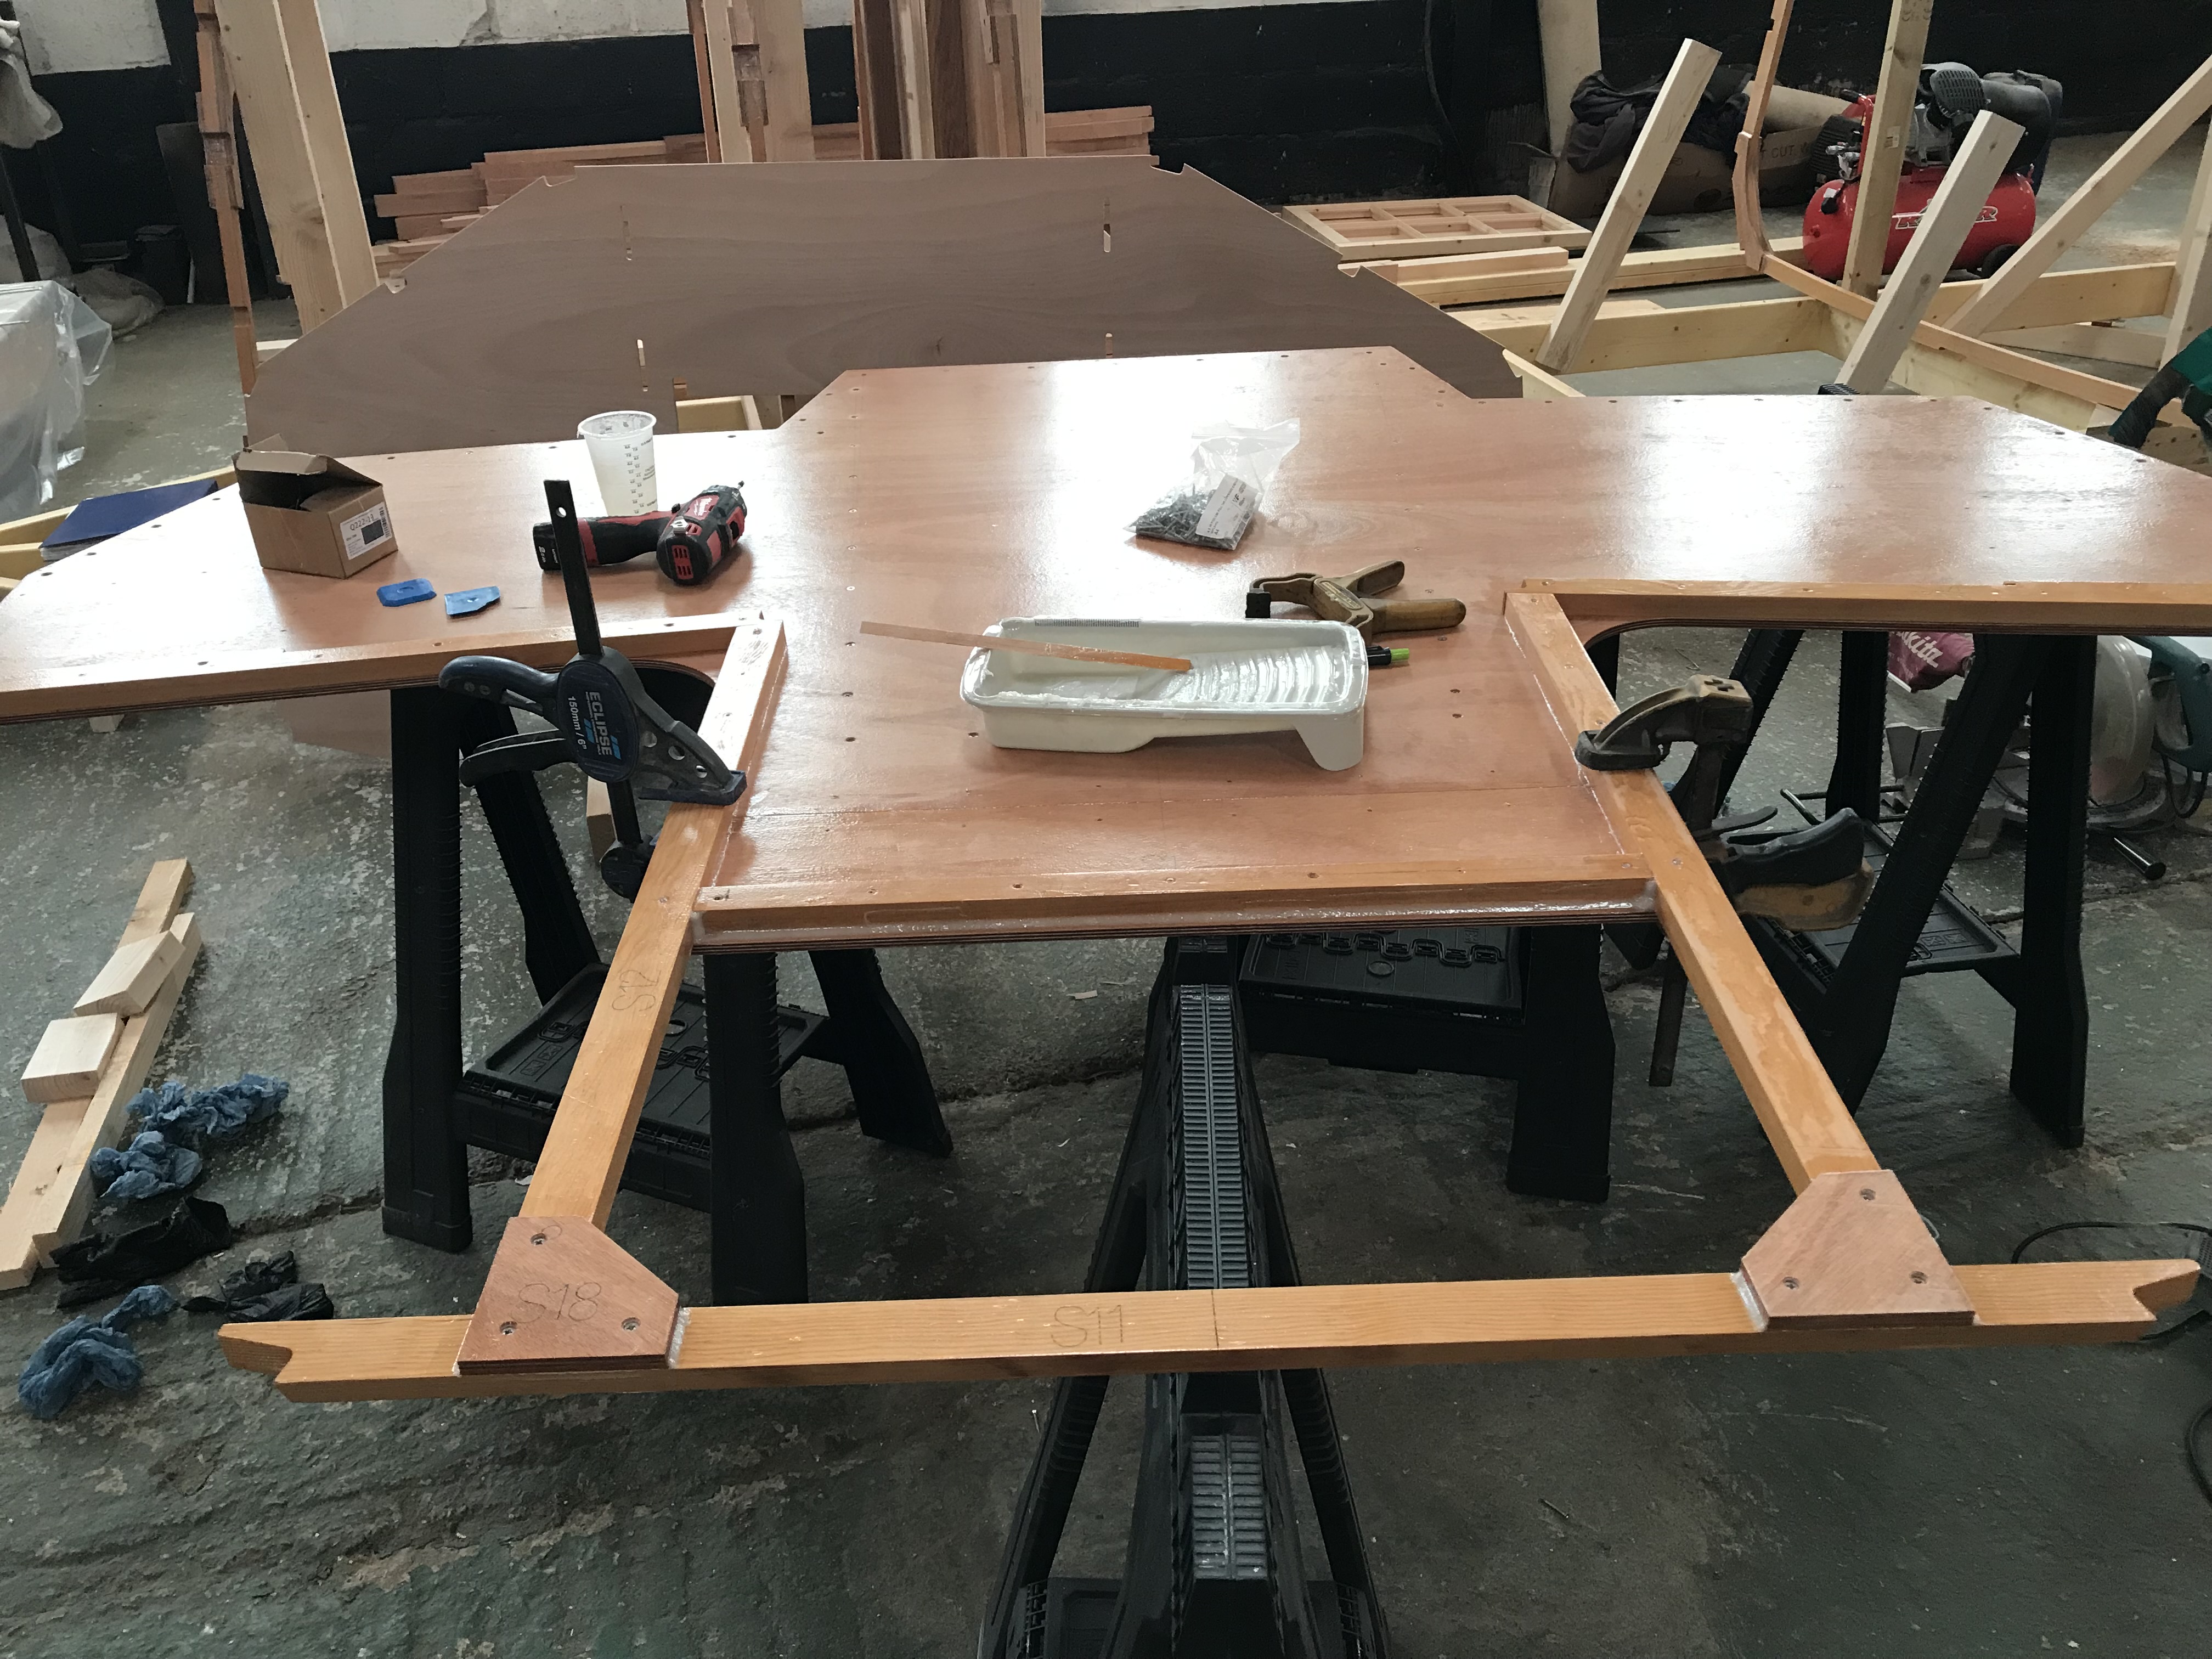
September 20th 2025.
Frame B. Easy frame, same prep as before, check your diagonals before you commit to epoxying as it’s a large frame, wide, a little is a lot on the other side. 3 hours.


September/October 2025.
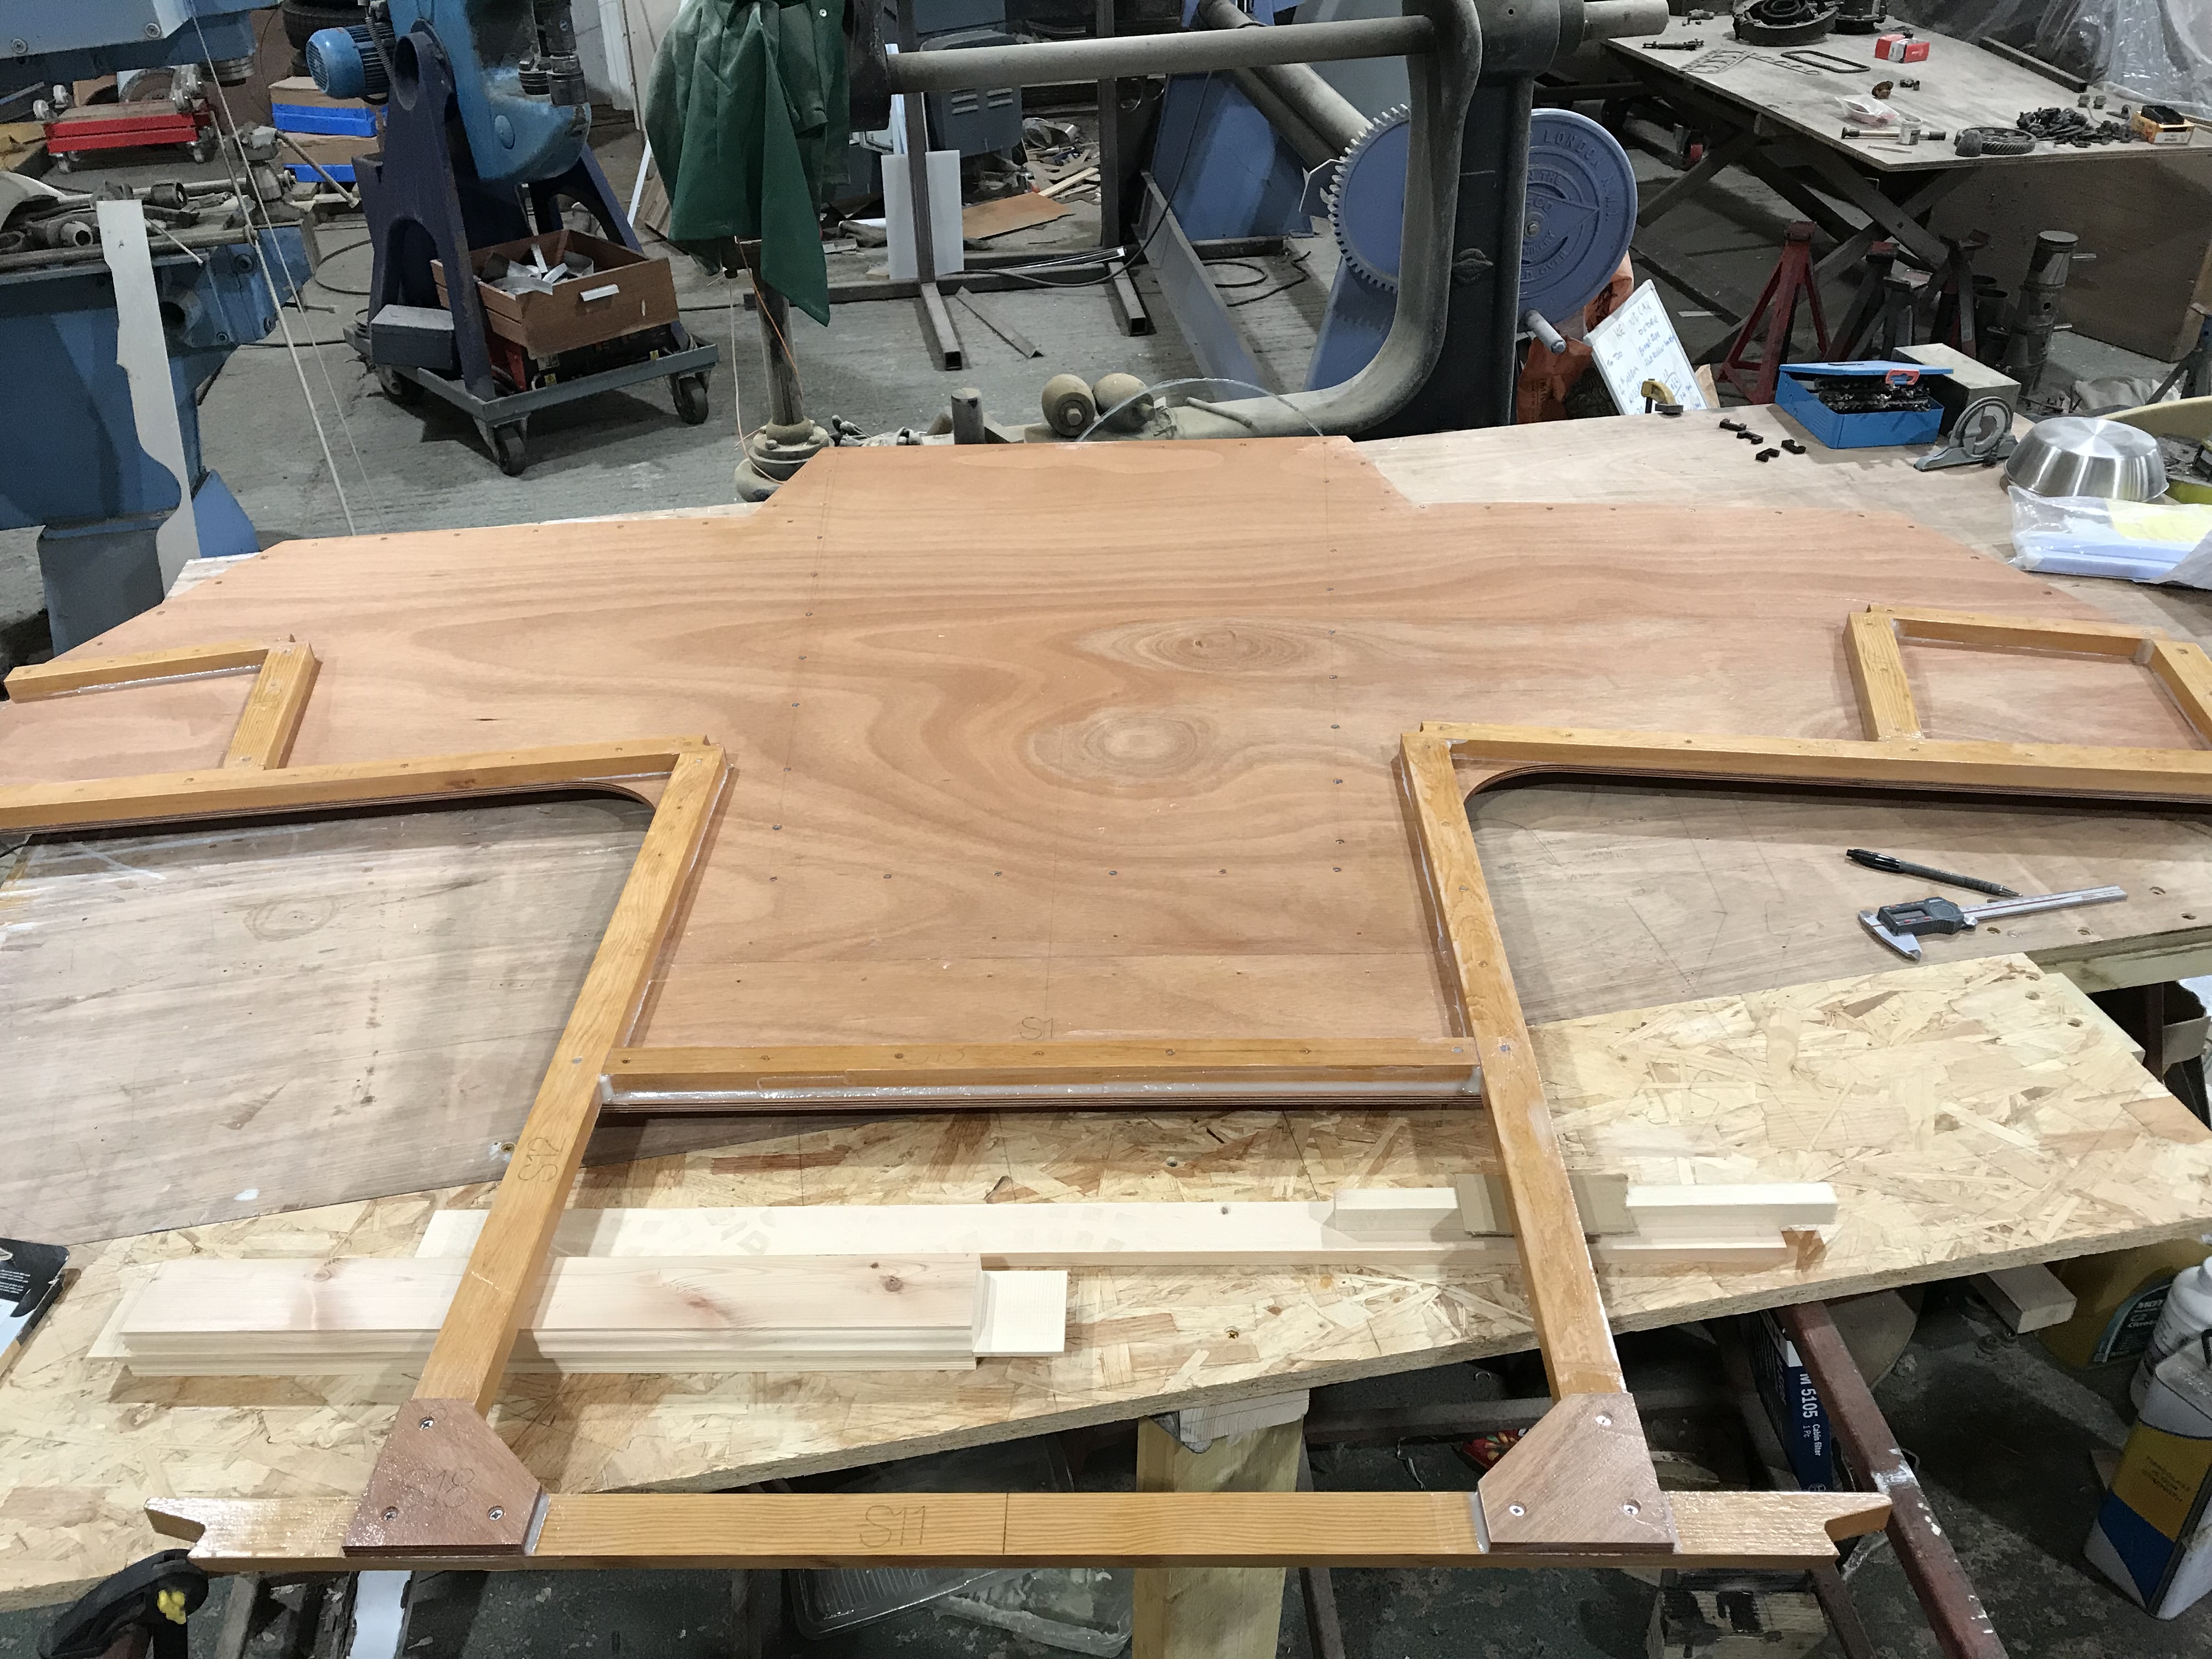
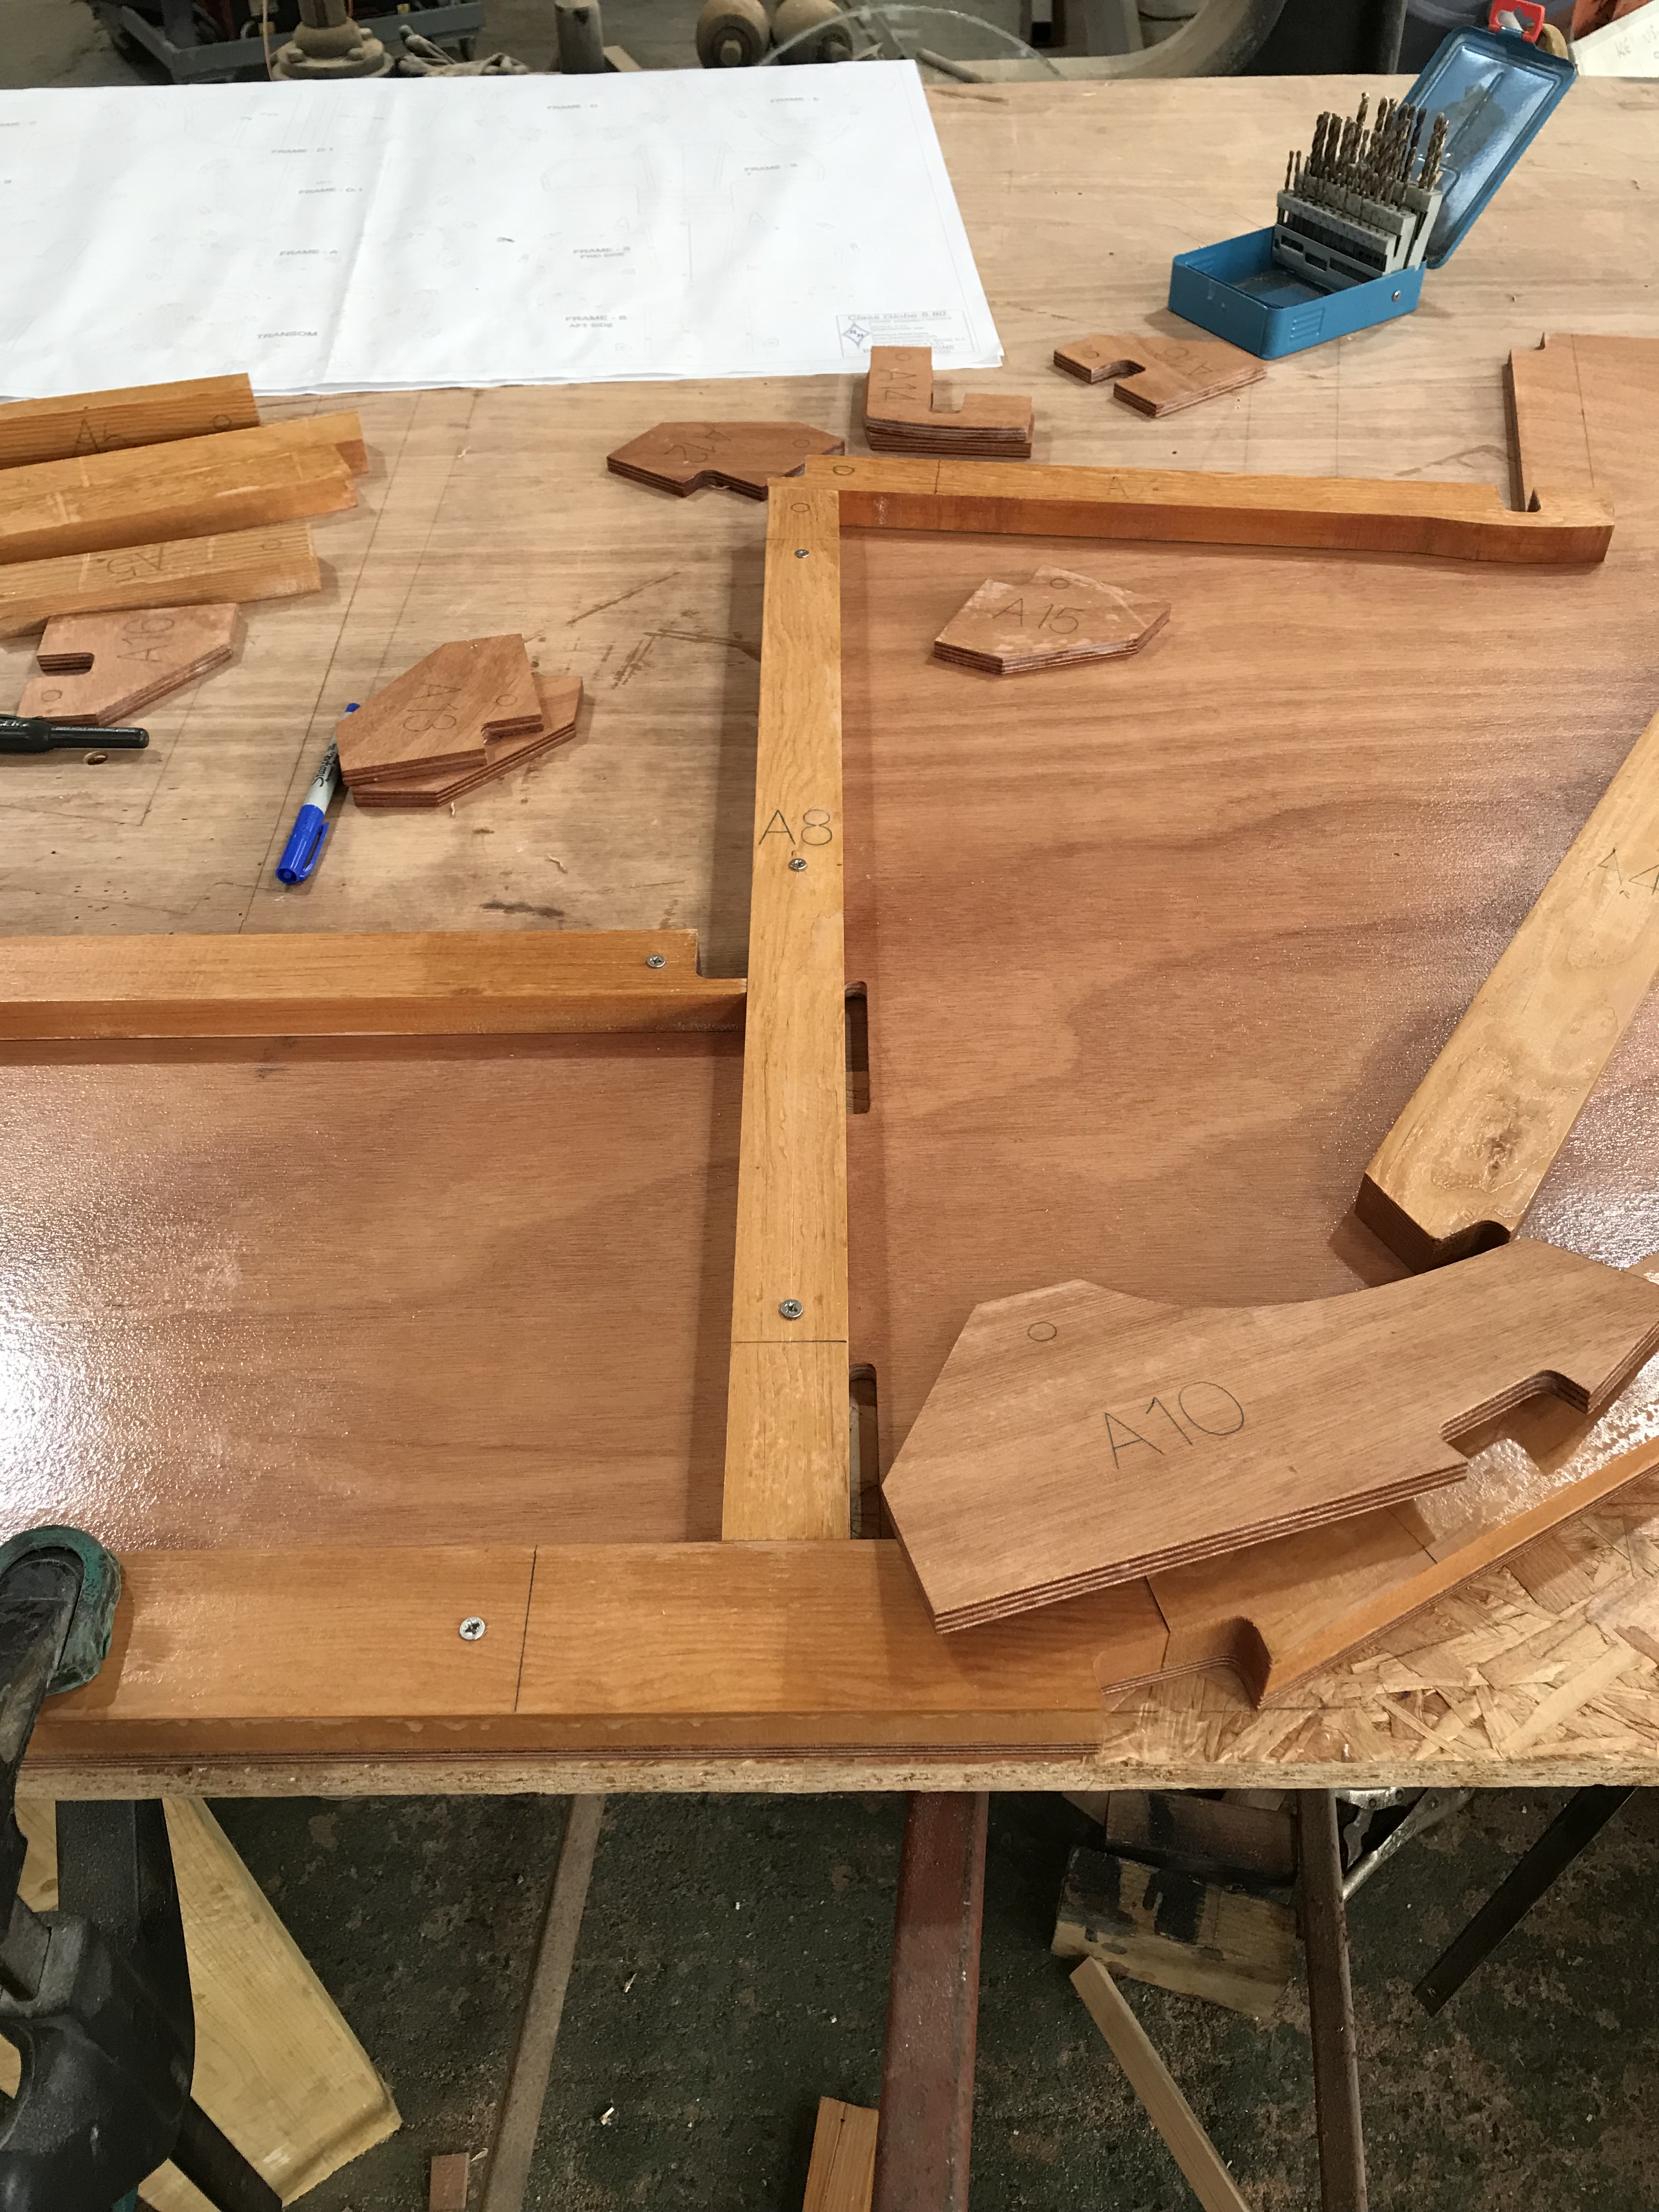
Frame A. This is a busy frame, lots of parts but pretty straightforward as you have all the pen lines on the ply to follow, same prep as before other than I have a router table set up , wish I had it from the start, so much faster cleaning up and rounding the edges. Only other thing to mention is it’s a bit tricky screwing all the pine parts to the ply, screwing from the ply side and not being able to see the lines, the plywood being only 9mm thick doesn’t give much meat to screw through the pine first. I put two screws in each piece with the epoxy, having pre drilled and countersunk all holes then carefully screwed the screws in feeling for them locating in there holes. Also remembering not to screw a screw into a hole that has a screw in from the other side, (I did once or twice while racing the curing epoxy) also moved into the office, the old snooker table with a sheet of ply makes a good bench and heating for the curing process. 9 hours

November 2025.
Frame T, Transom. Final frame totally enjoying this build but glad it’s the last frame, getting a little repetitive. Similar to frame A, stormed through the prep with the router set up. Clamped down and drilled all the holes and had a dry fit, will move it inside to glue.
